
When the whole crew signs in with the owner's login, three things go wrong. You cannot tell who changed a job or a price. A technician who quits still knows the password. And everyone can see your revenue, your customer list and your billing settings, whether they need to or not.
Adding each person as an employee fixes all three. Everyone gets their own login and a role that shows them only what they need. Technicians open Servgrow and see the jobs assigned to them. Your office team sees the whole schedule and every customer. Only the people you trust with your money and your account can open Settings. When someone leaves, you remove their access in a couple of clicks. Each new person takes about two minutes to set up.
Where to find it
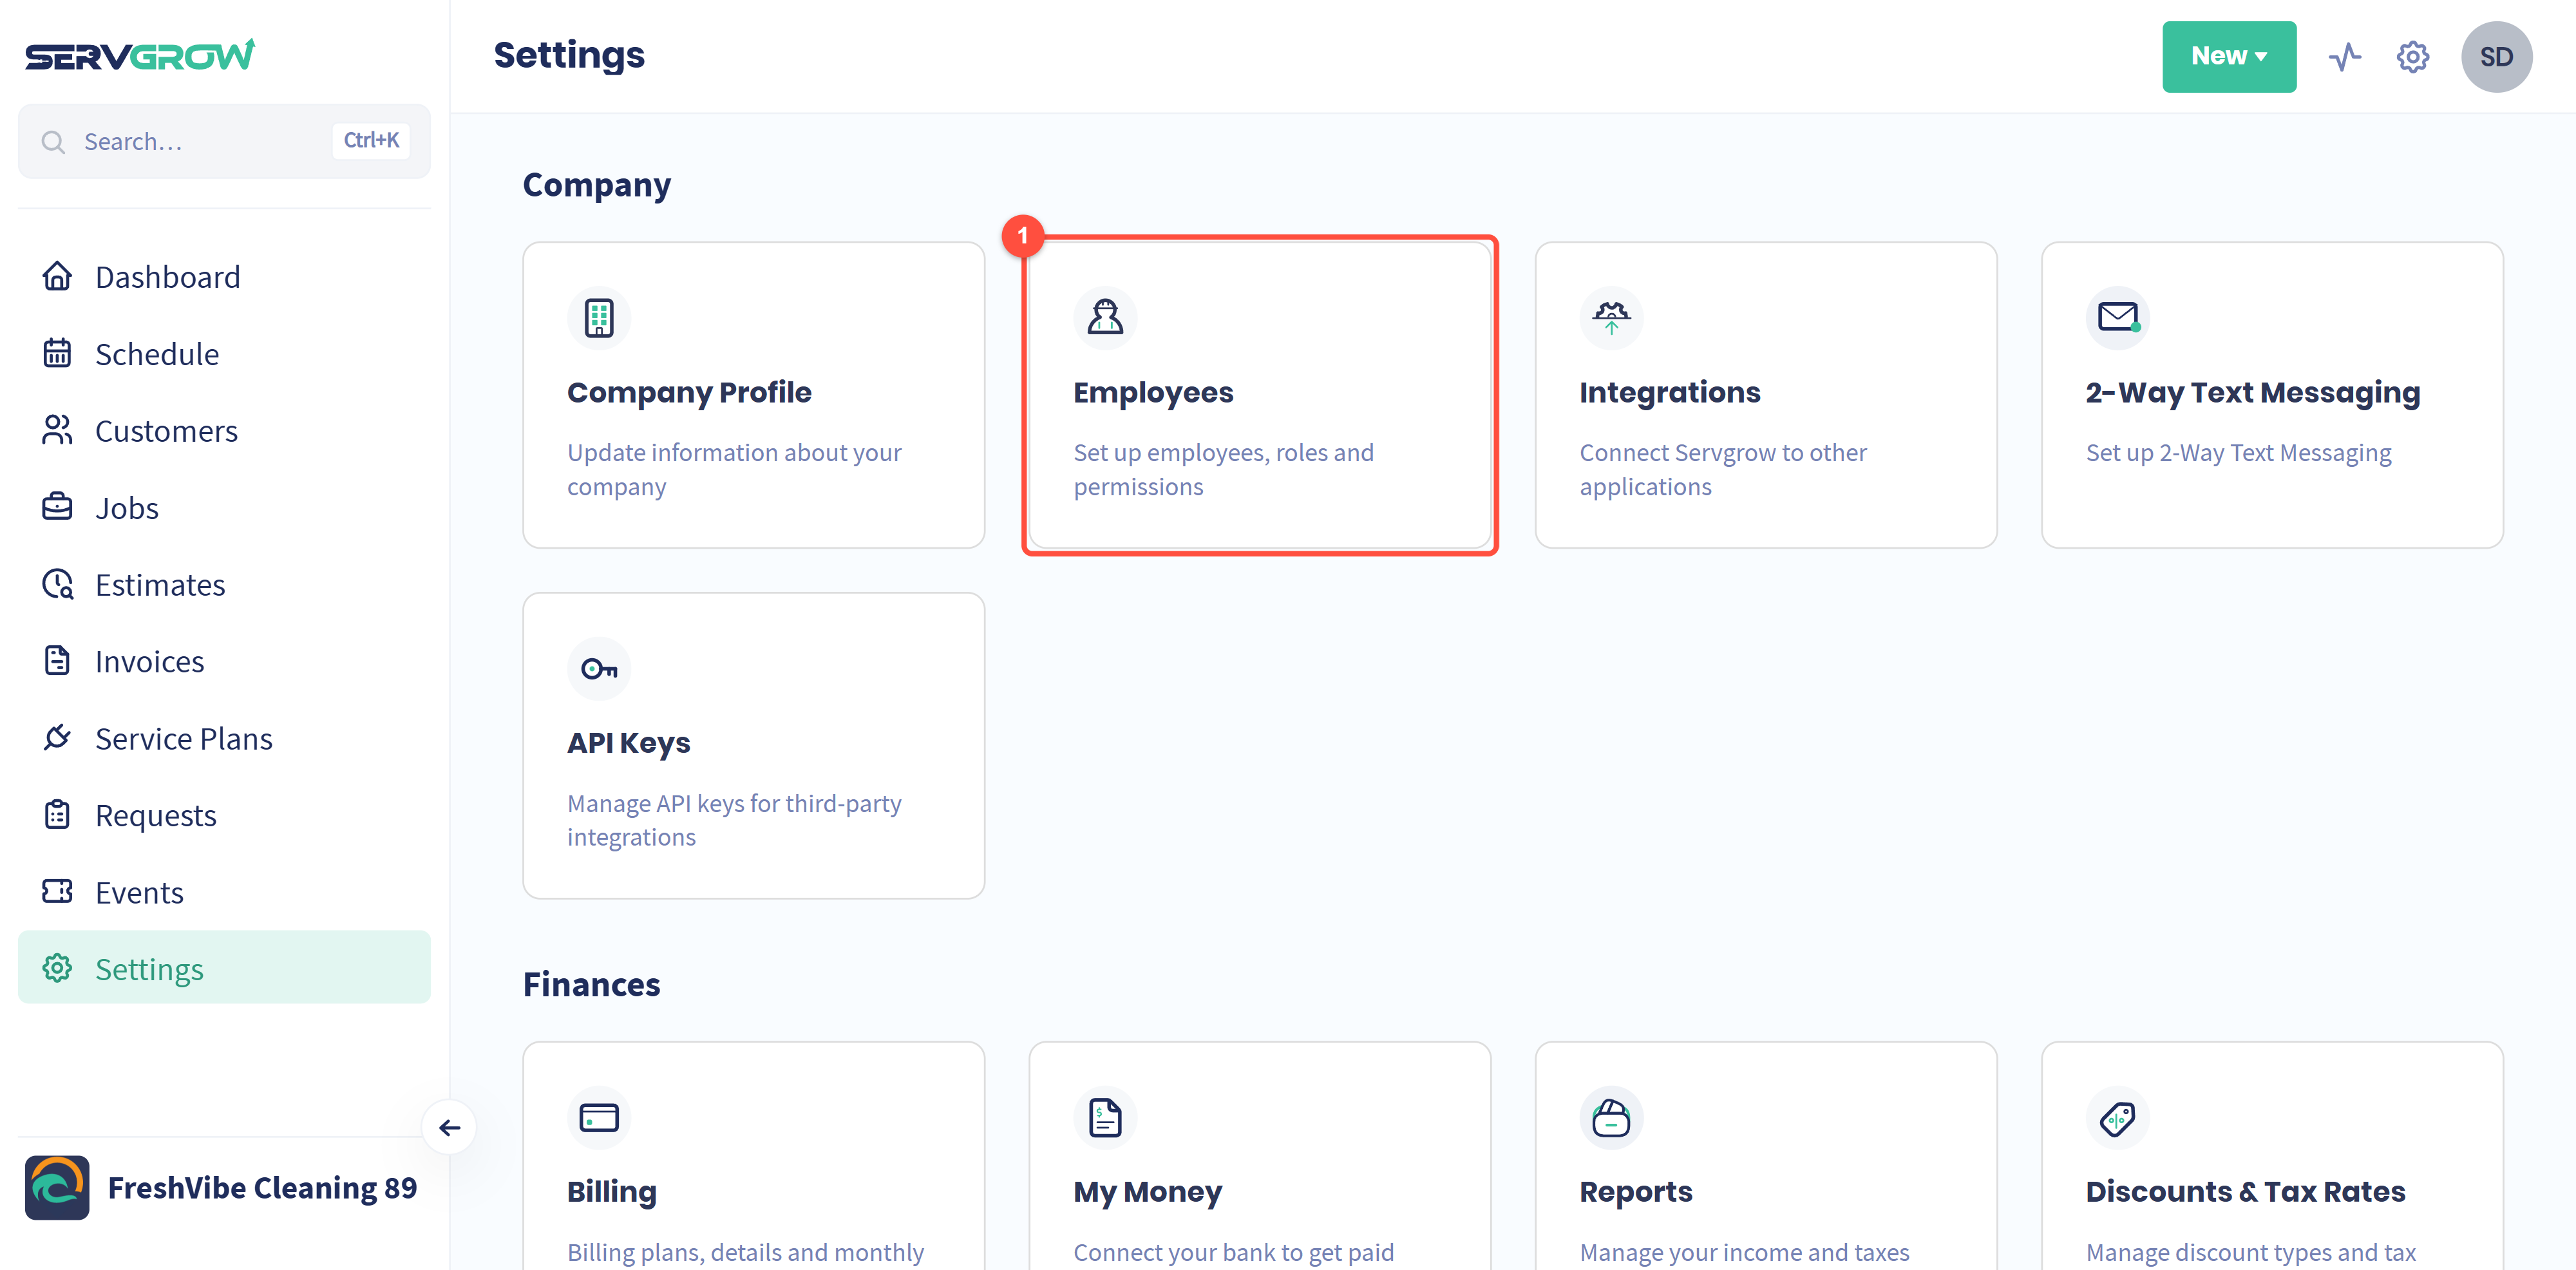
Go to Settings and, under Company, click Employees. Only a Company Admin can open this page.
Your team at a glance
The Employees page lists everyone on your account with their Name, Role, Status and Tags. Use the search bar to find someone quickly on a bigger team.
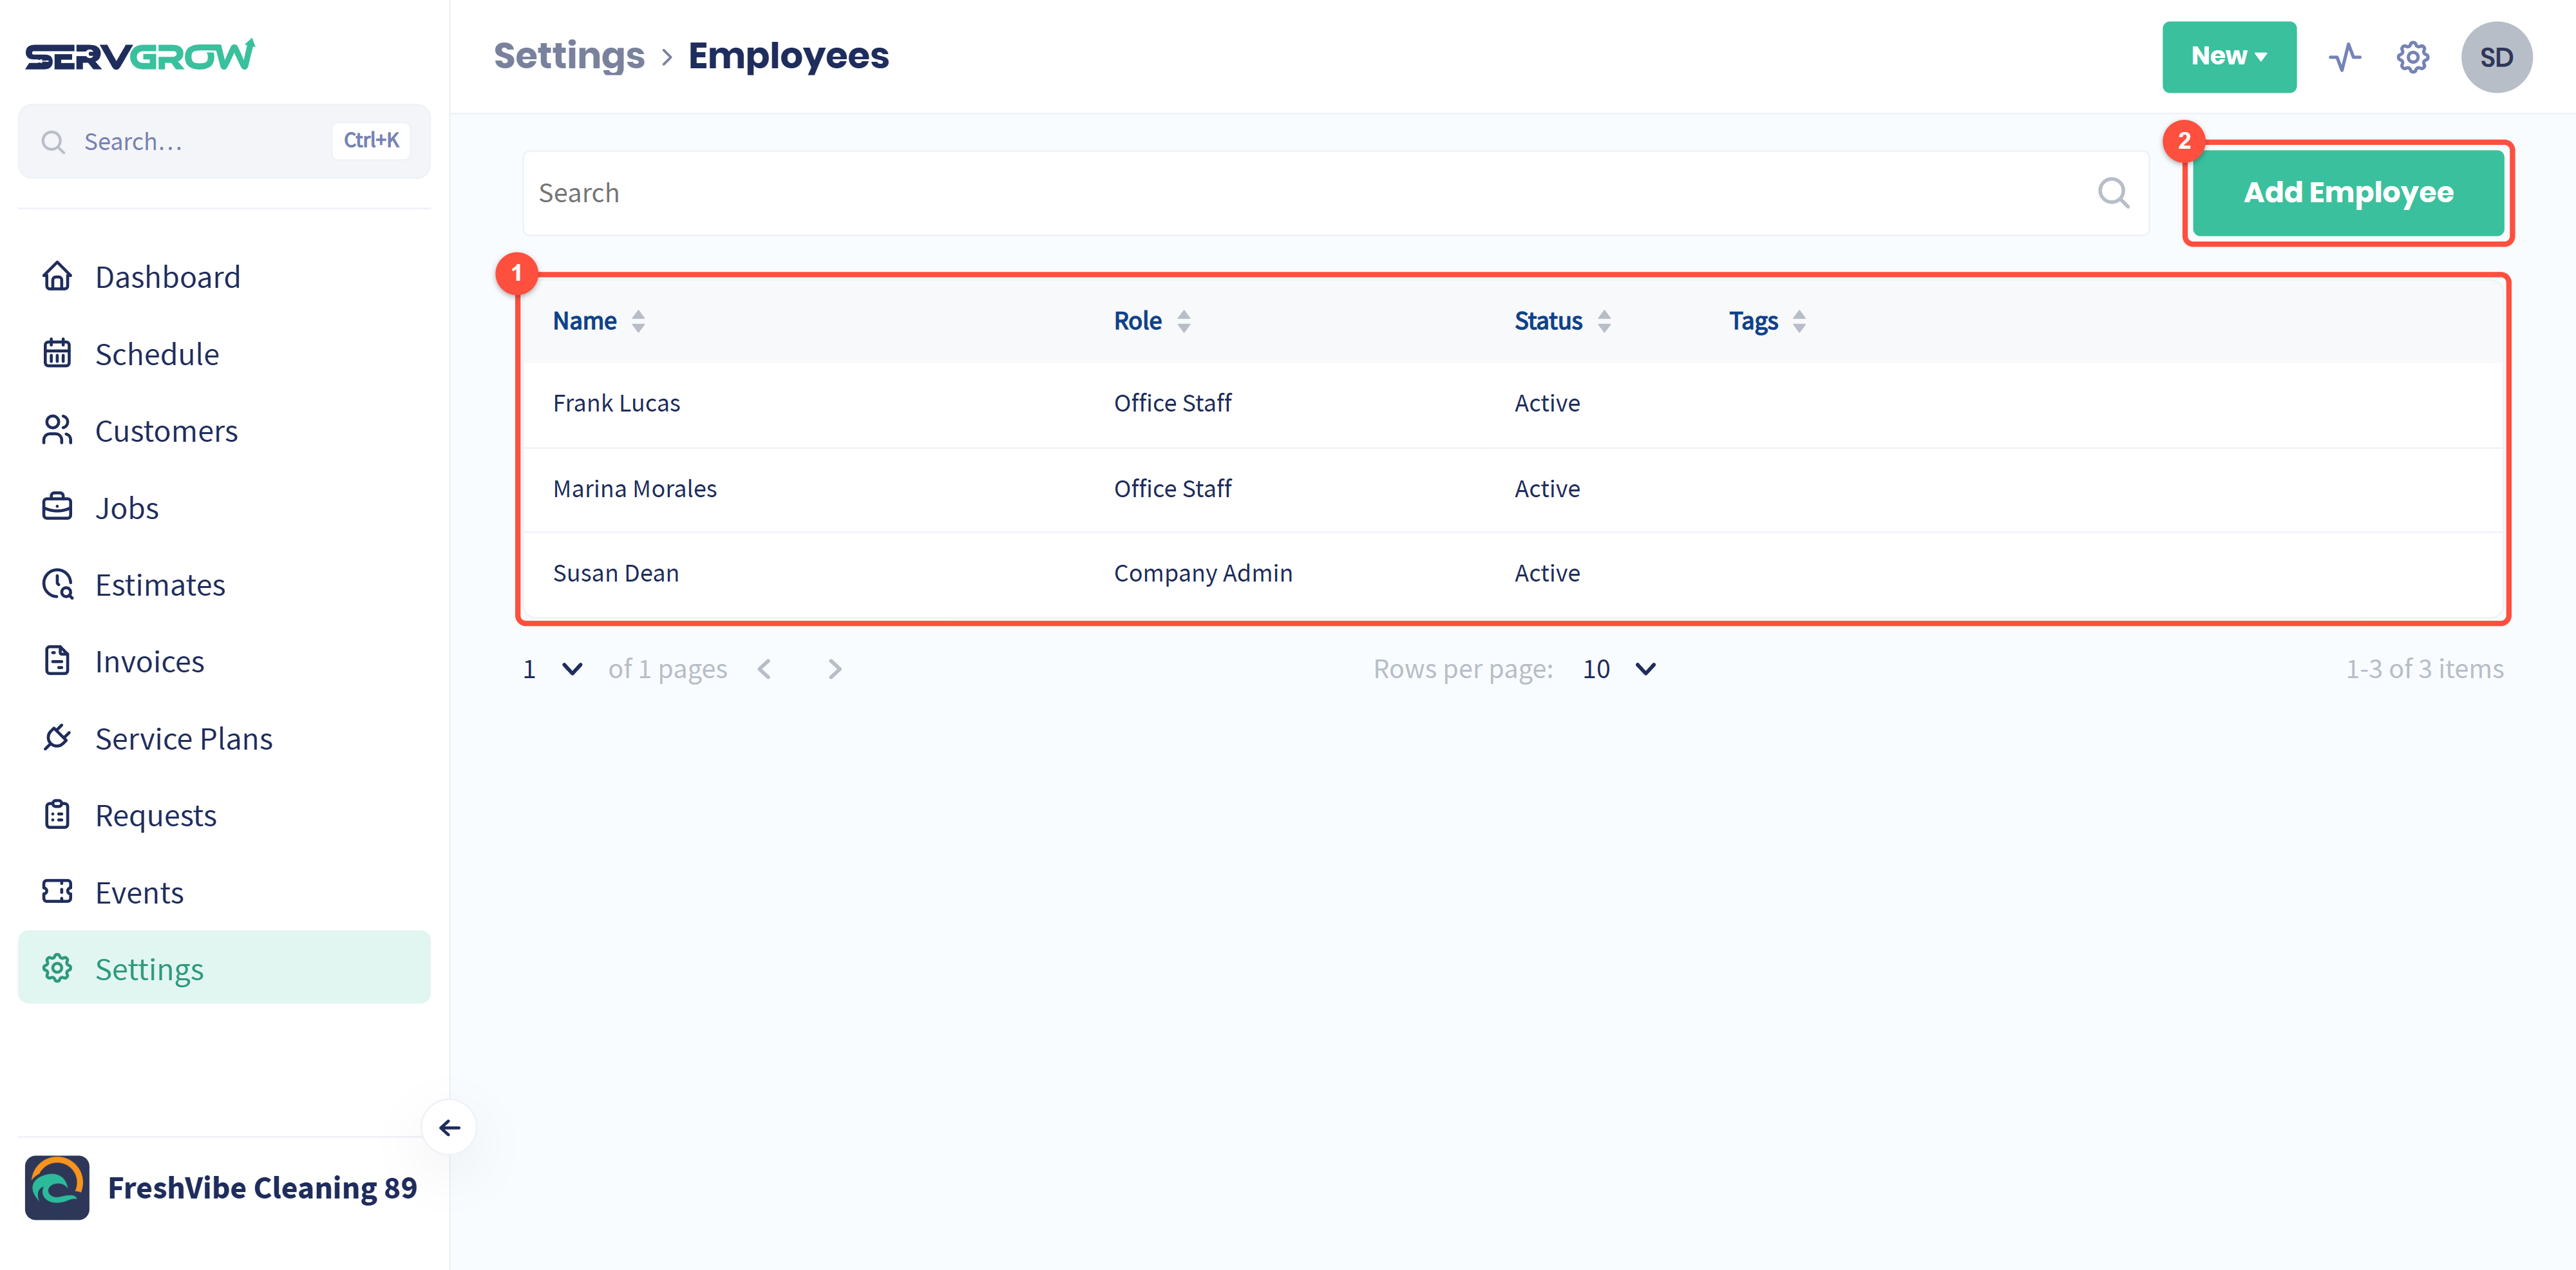
Click Add Employee to add someone new.
Already at your plan's user limit? Servgrow tells you as soon as you click Add Employee. Depending on your plan, it shows the monthly cost of each extra user and lets you add them at that price, or you can upgrade your plan from Billing.
Add a photo and a color
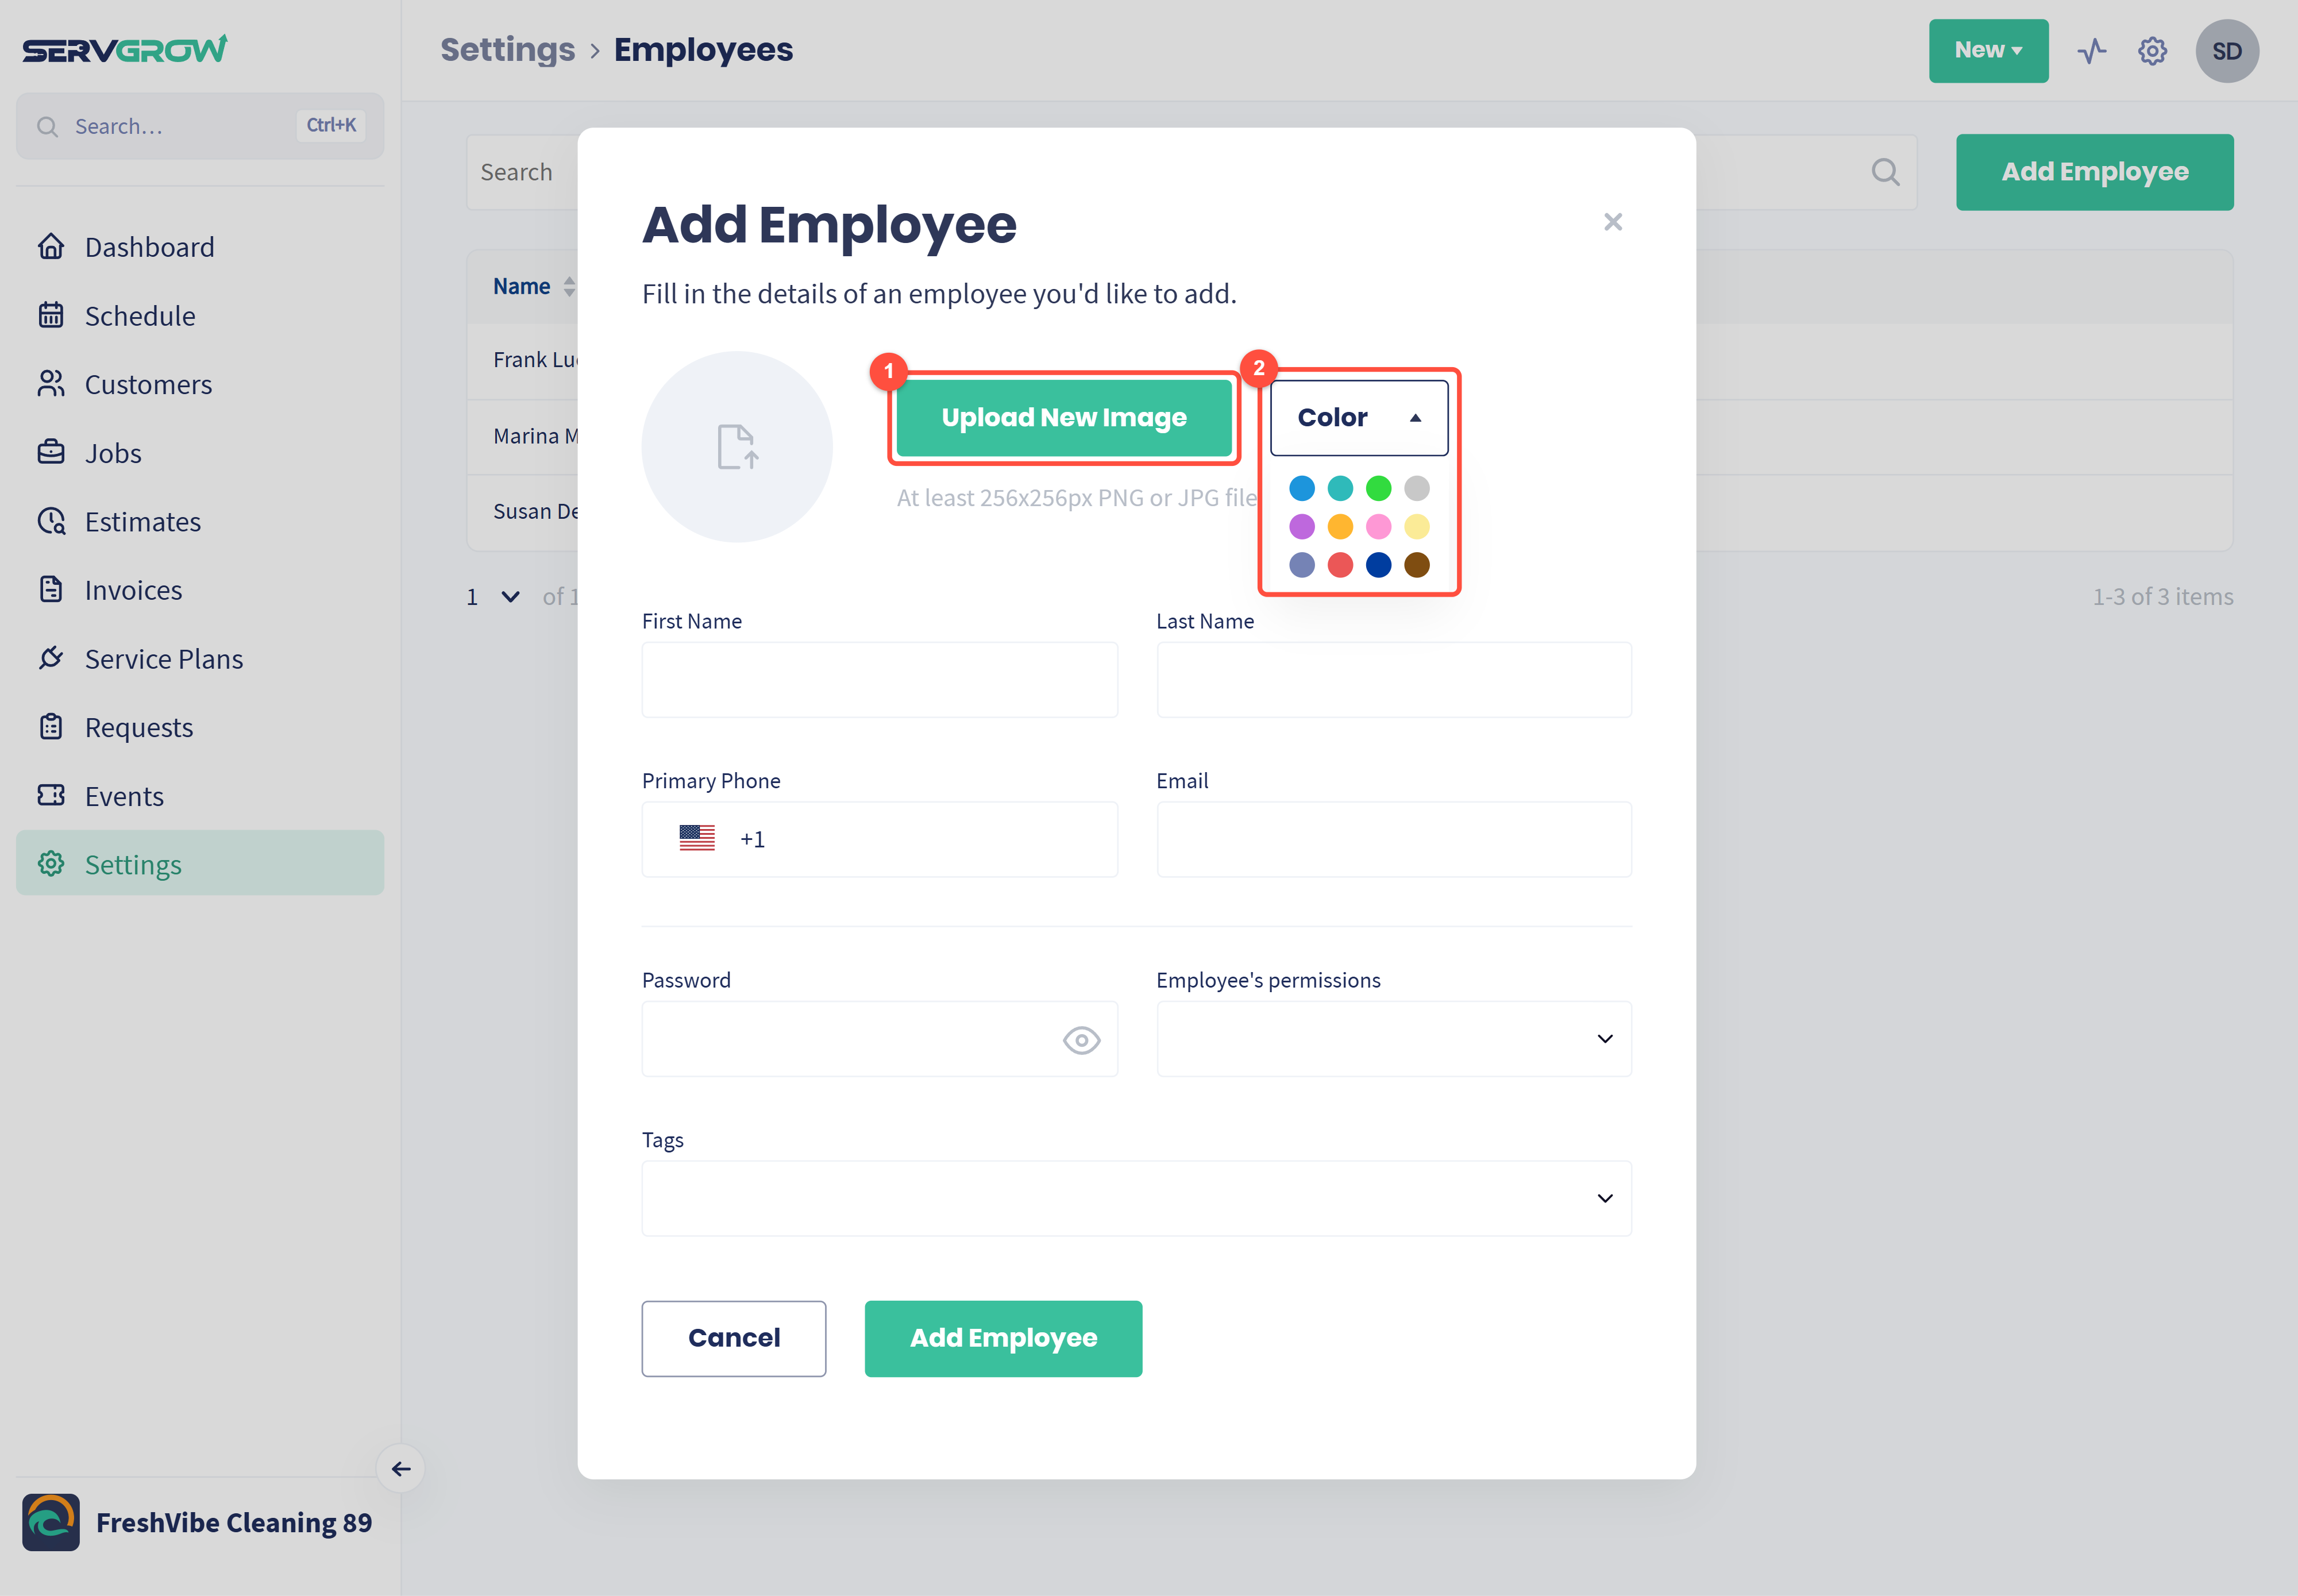
Upload New Image adds a profile photo. Use a PNG or JPG that is at least 256x256 pixels. A photo helps customers recognize who is at the door.
Color gives the employee one of 12 colors. Without a photo, their initials show in that color, so give each person a different one to tell them apart at a glance.
Both are optional. You can add them later.
Enter their details
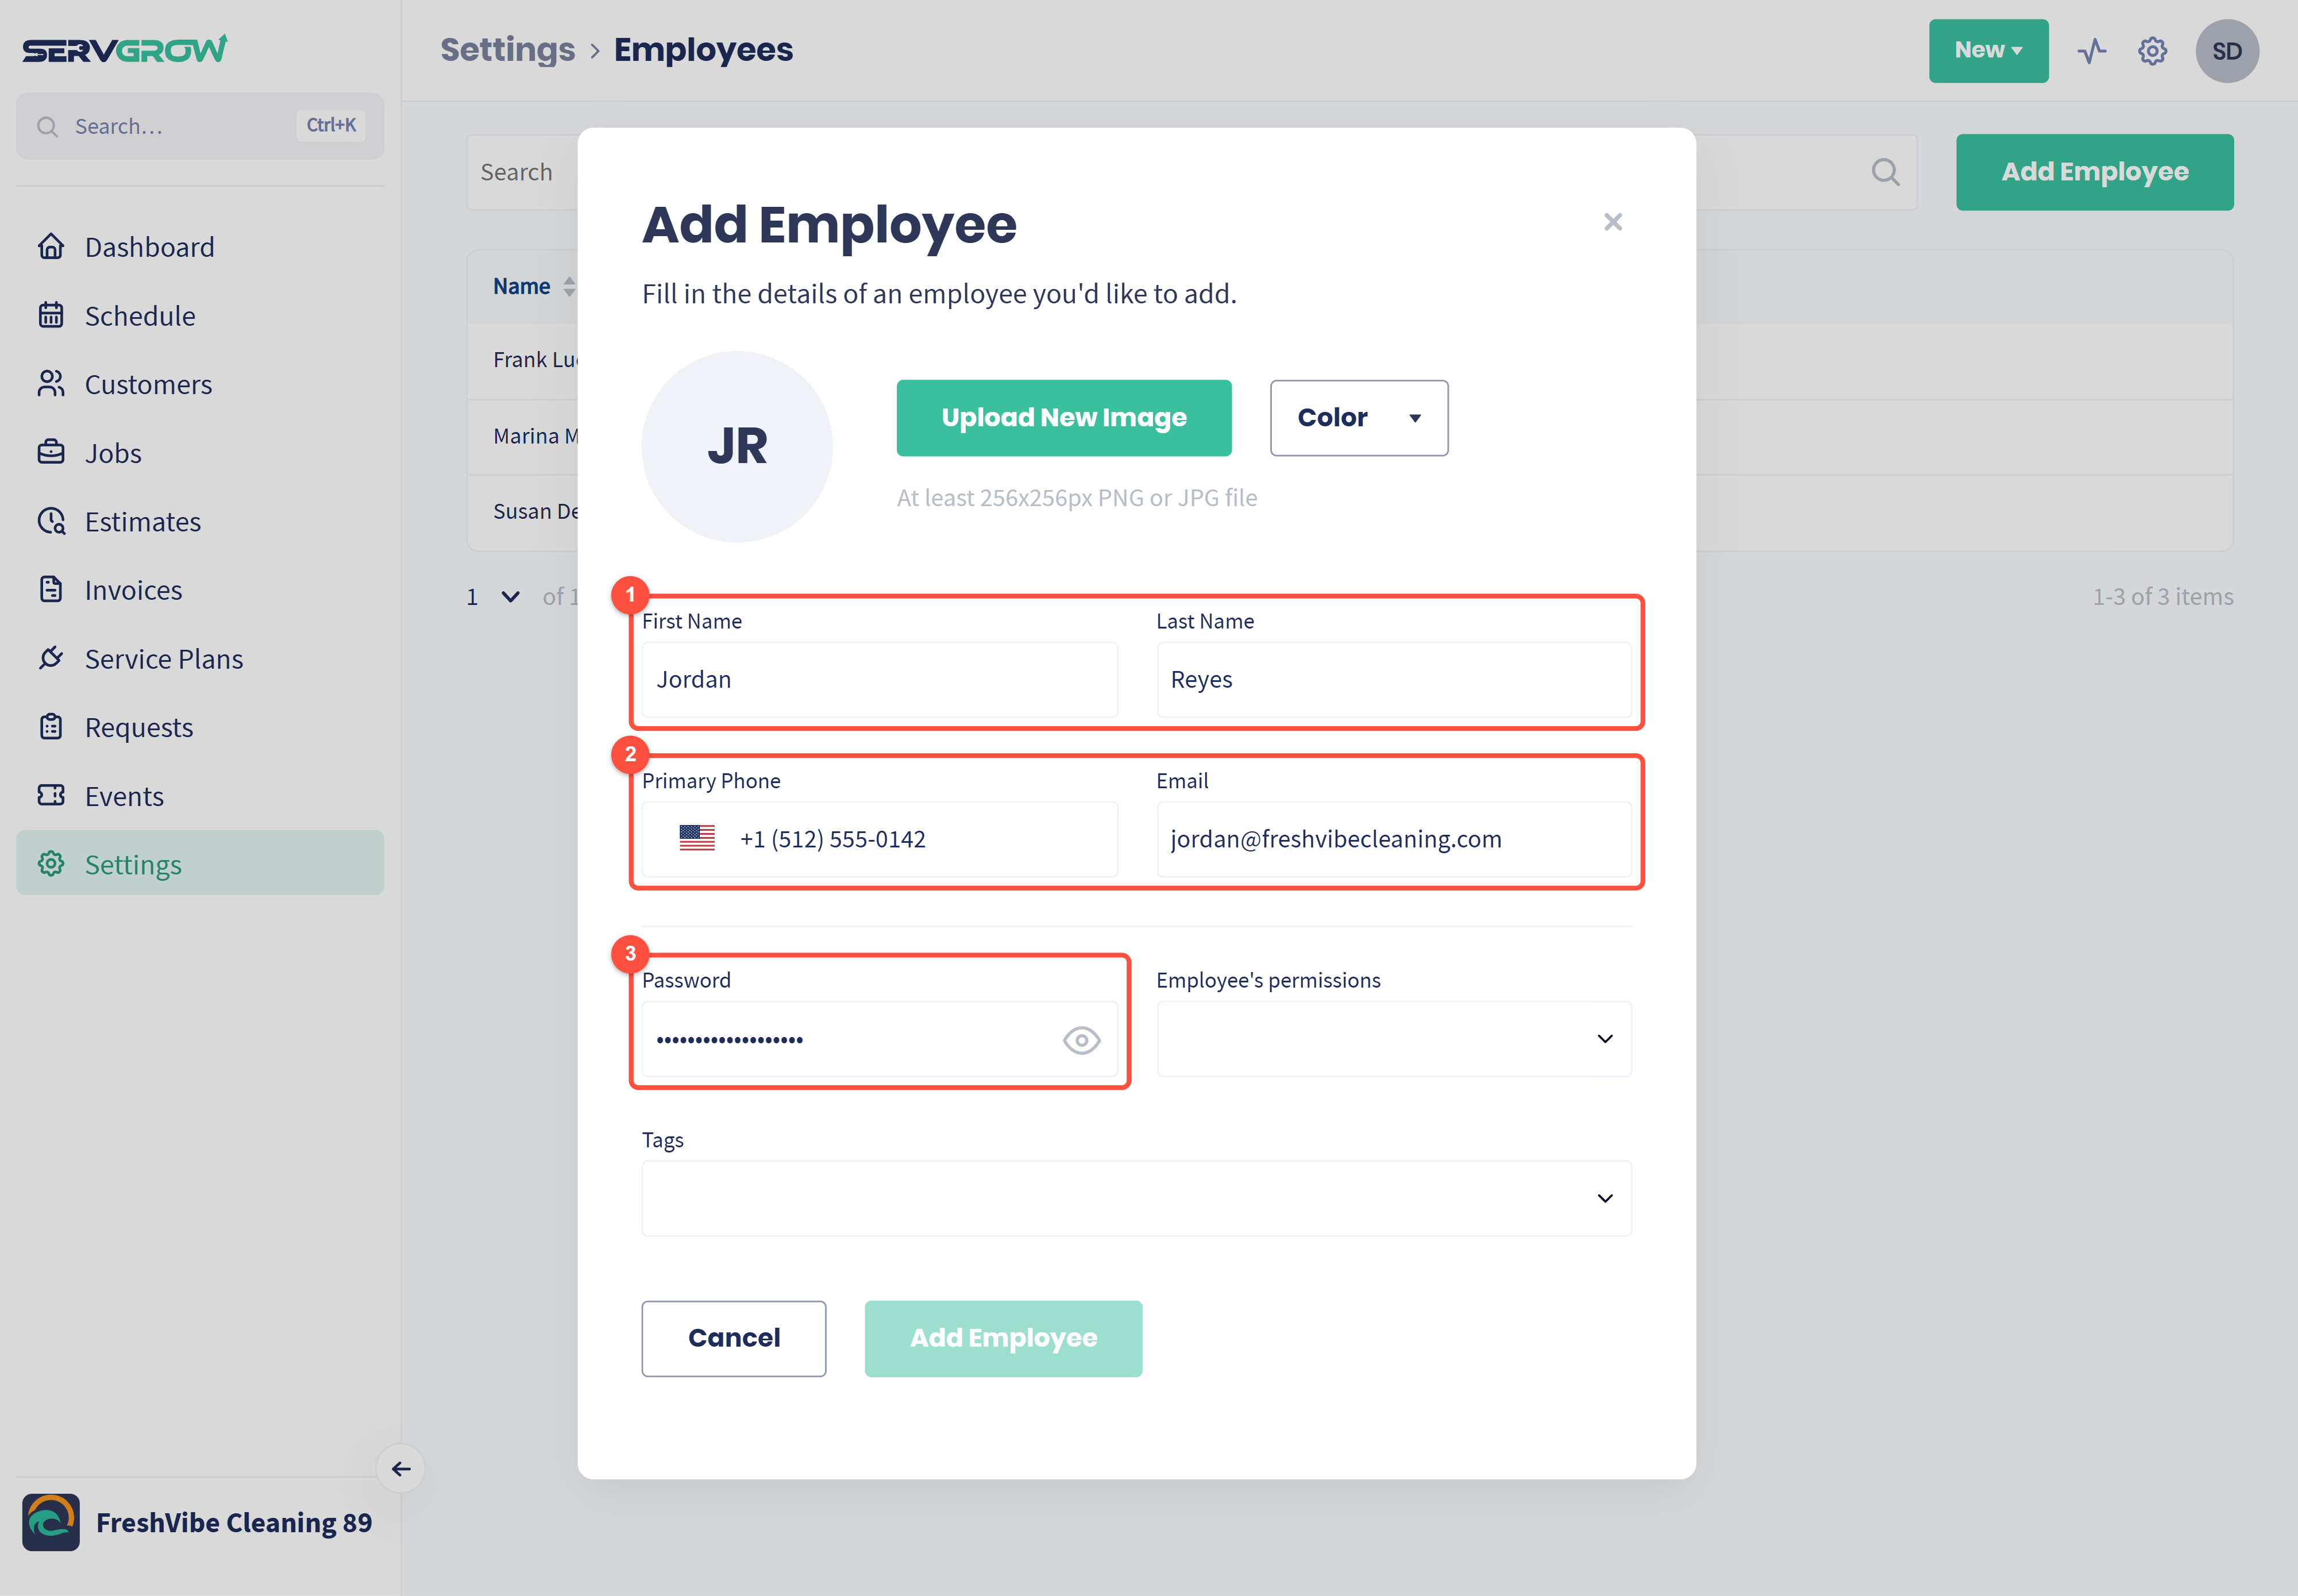
First Name and Last Name. This is the name your team sees on the schedule and the name customers see in messages such as your On My Way text, so use the name they go by.
Primary Phone and Email. The email is what they sign in with, so use one that only they use. Every employee needs their own.
Password. Set a starting password. Click the eye icon to check what you typed. If they ever forget it, they can reset it with Forgot password? on the sign-in page.
Choose their permissions
Click Employee's permissions and pick the role that matches the job this person does.
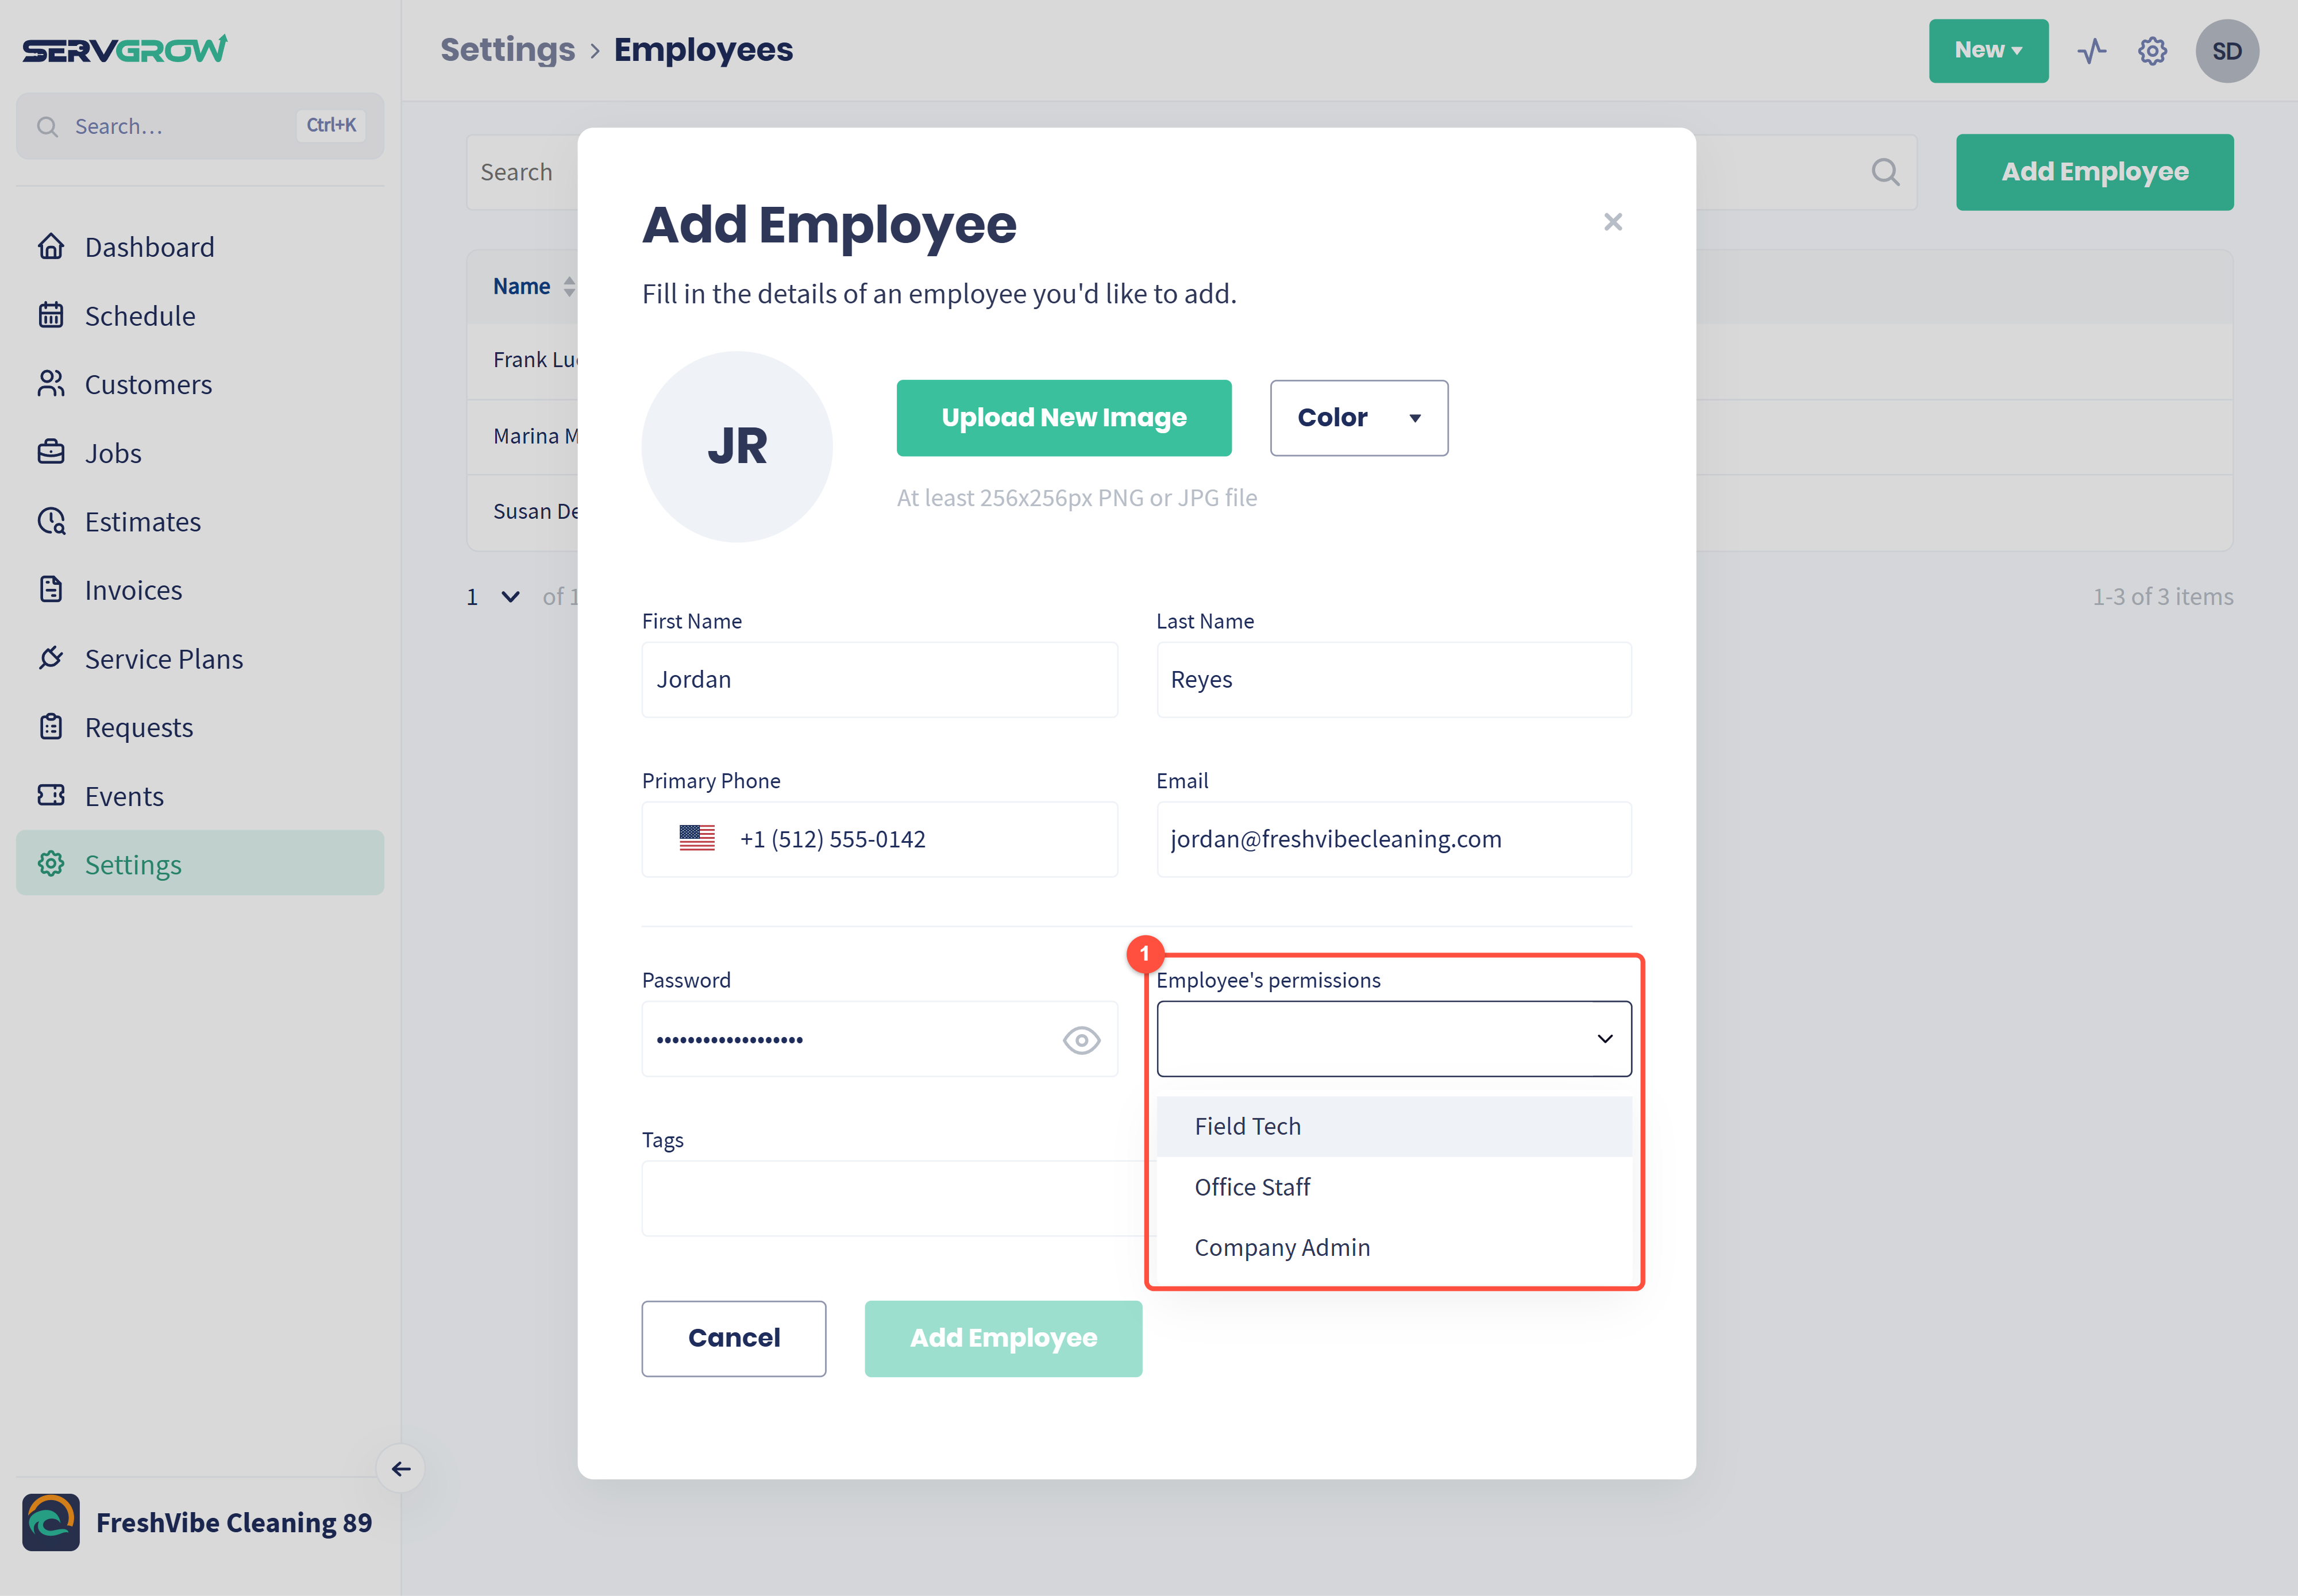
Here is what each role can do by default:
Field Tech is for the crew in the field. They see the schedule, jobs, estimates and invoices assigned to them, and only the customers on that work. They can update job details, see pricing, read and reply to their own customers' texts in the Inbox if you use 2-Way Text Messaging, and sign customers up for a service plan. They cannot see the Dashboard, reports, expense tracking, other people's work or any Settings.
Office Staff is for the people running the day. They see everything across the company: the Dashboard, every customer, every job and estimate, invoices, the full Inbox, service plans, the activity feed, reports and expense tracking. They can add and edit customers, delete jobs and view online booking requests. They cannot open Settings pages such as Billing, Employees, Price Book or Integrations.
Company Admin has full access. That is everything Office Staff can do, plus managing online booking and every Settings page, including Company Profile, Employees, Billing and My Money. Keep this role for owners and managers.
Start with the least access someone needs. It is easy to give more later and awkward to take it away.
Need something in between? If Permissions by Role is turned on for your account, an Edit Permissions button appears next to Add Employee. It lets you change what each role can see and do and add roles of your own, which then show up in this list. See Changing Employee Permissions and Roles, or chat with our support team to ask about turning it on.
Add tags (optional)
Use Tags to group your team, for example by crew, by location or by the services each person handles. Choose from employee tags you have already created. To create them, go to Settings, open Company Profile and click the Tags Manager tab.
Add the employee
The Add Employee button turns on once the details and a role are filled in. Click it to create the account.
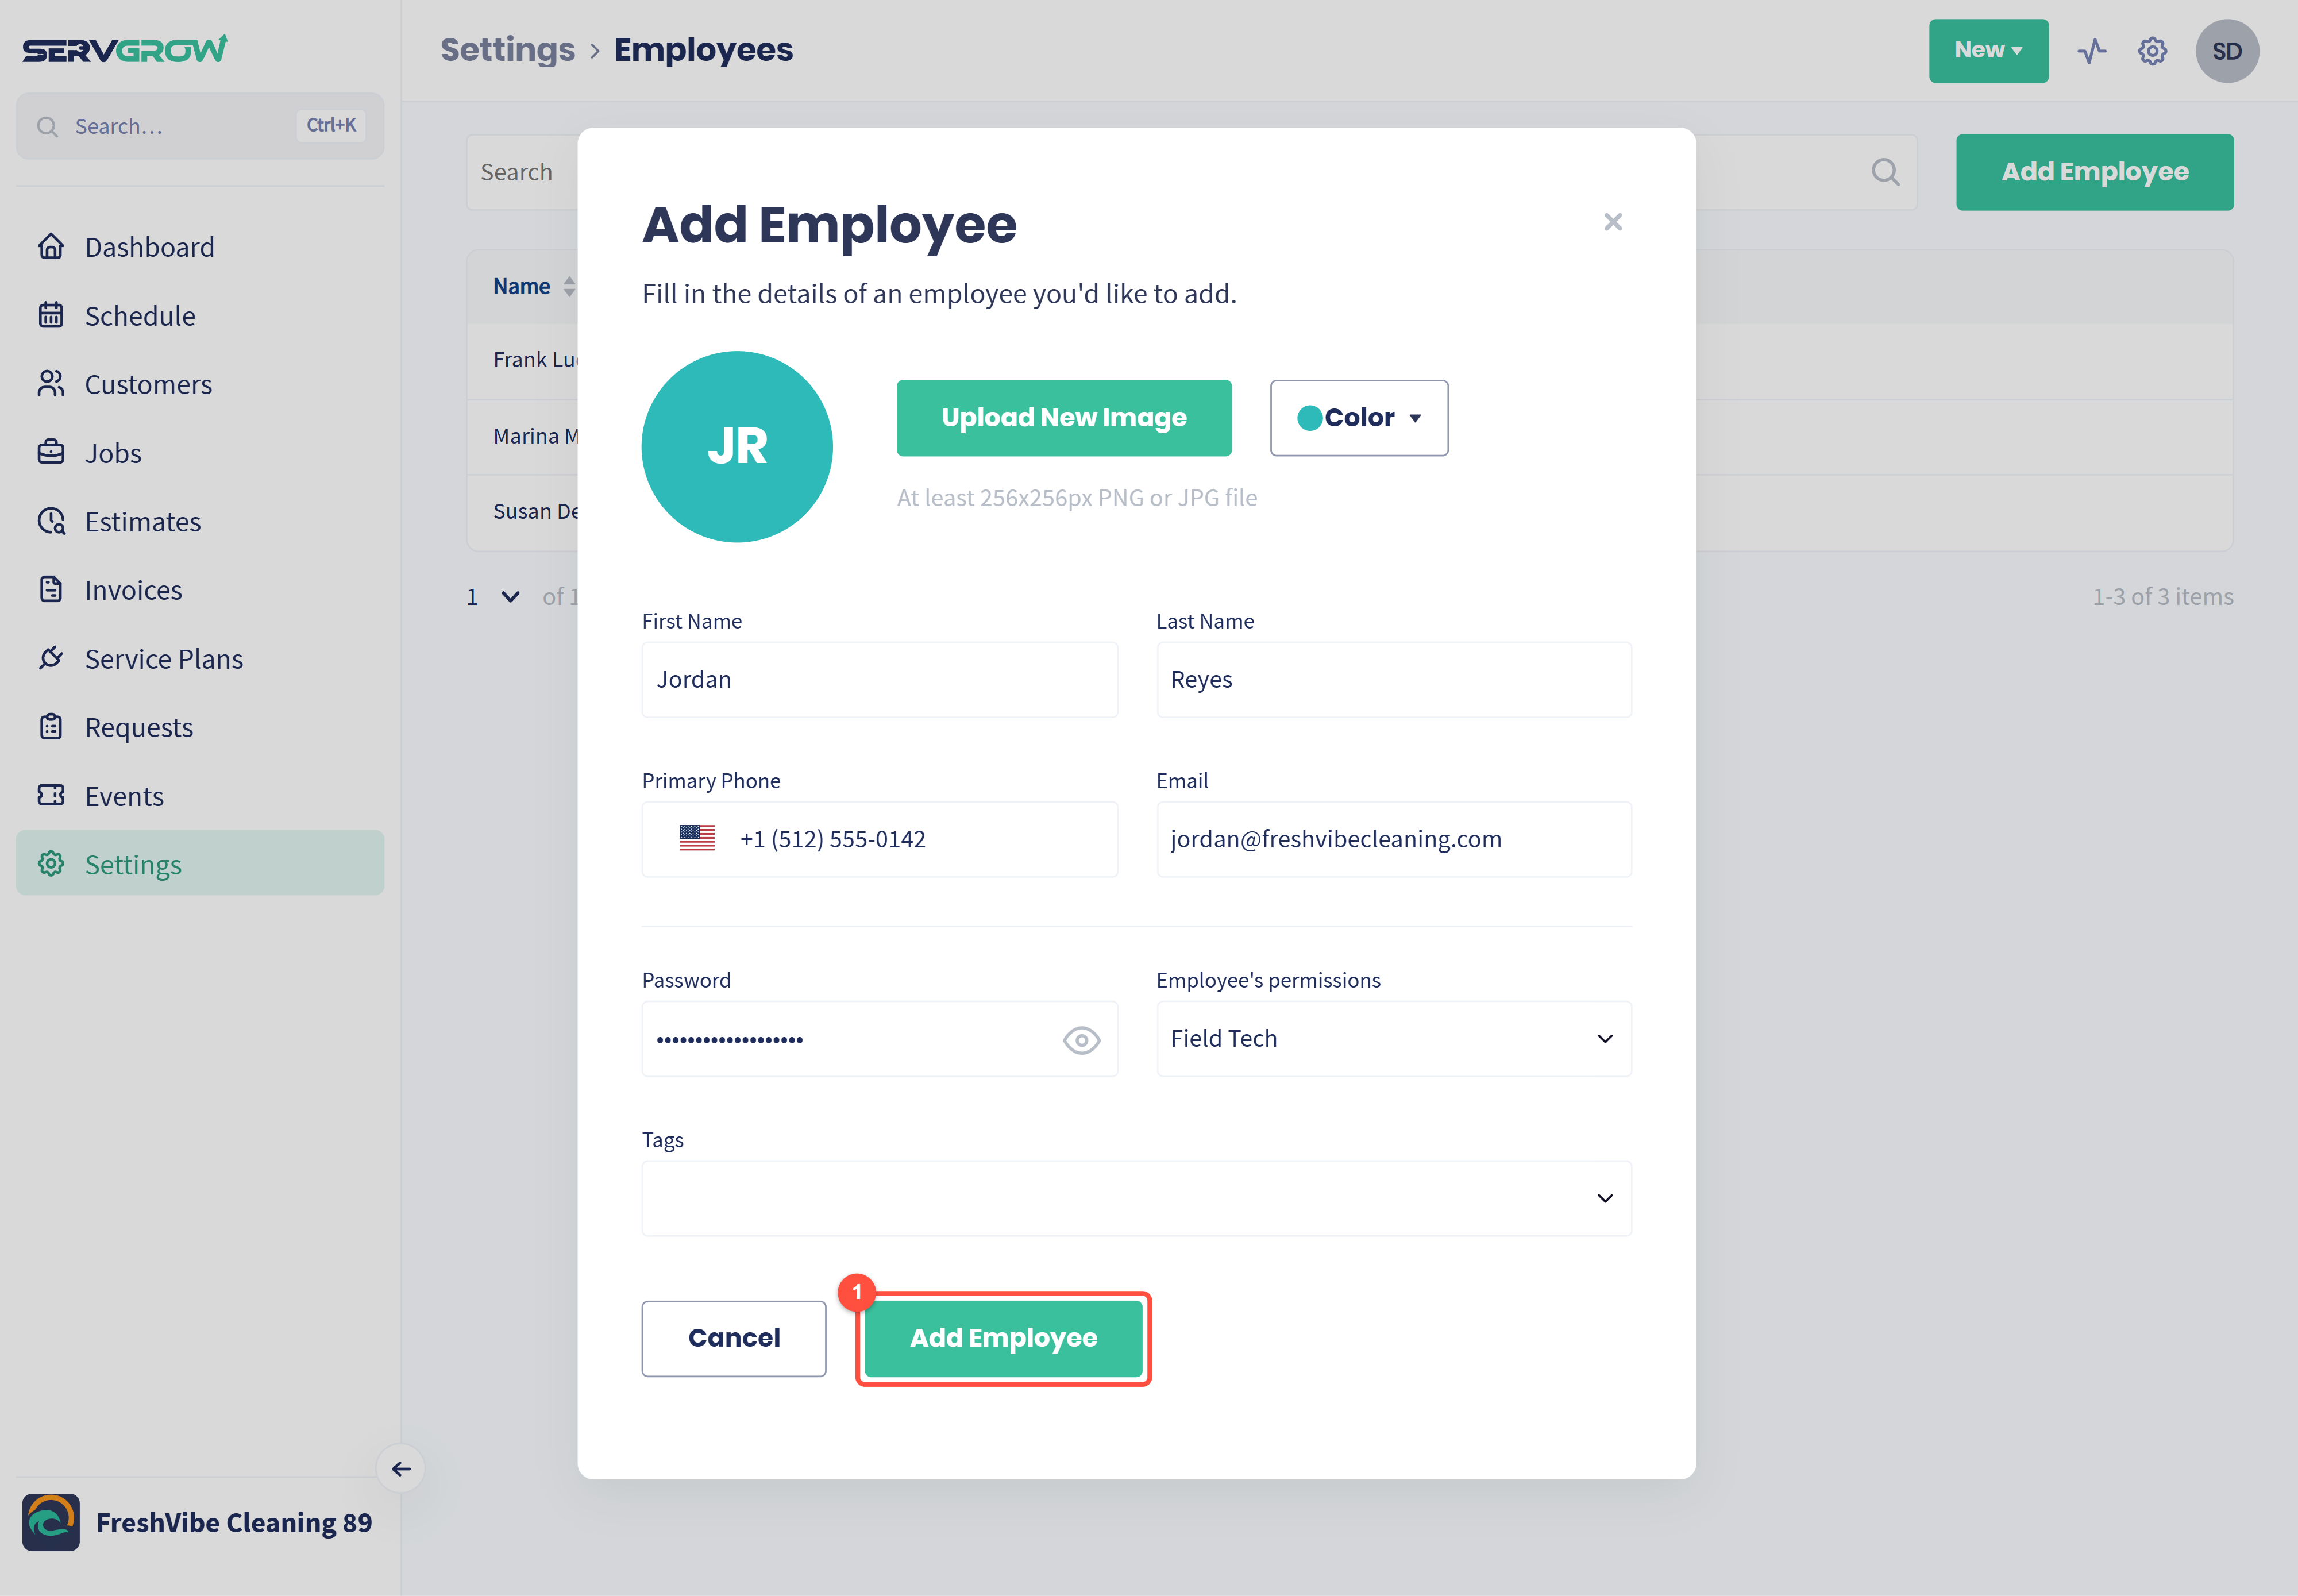
The new employee shows up in your Employees list, and you can assign them to jobs straight away. Send them their email and starting password so they can sign in at app.servgrow.com or in the Servgrow mobile app.
Change or remove an employee
Click anyone in the Employees list to open Edit Employee. It has the same fields as when you added them.
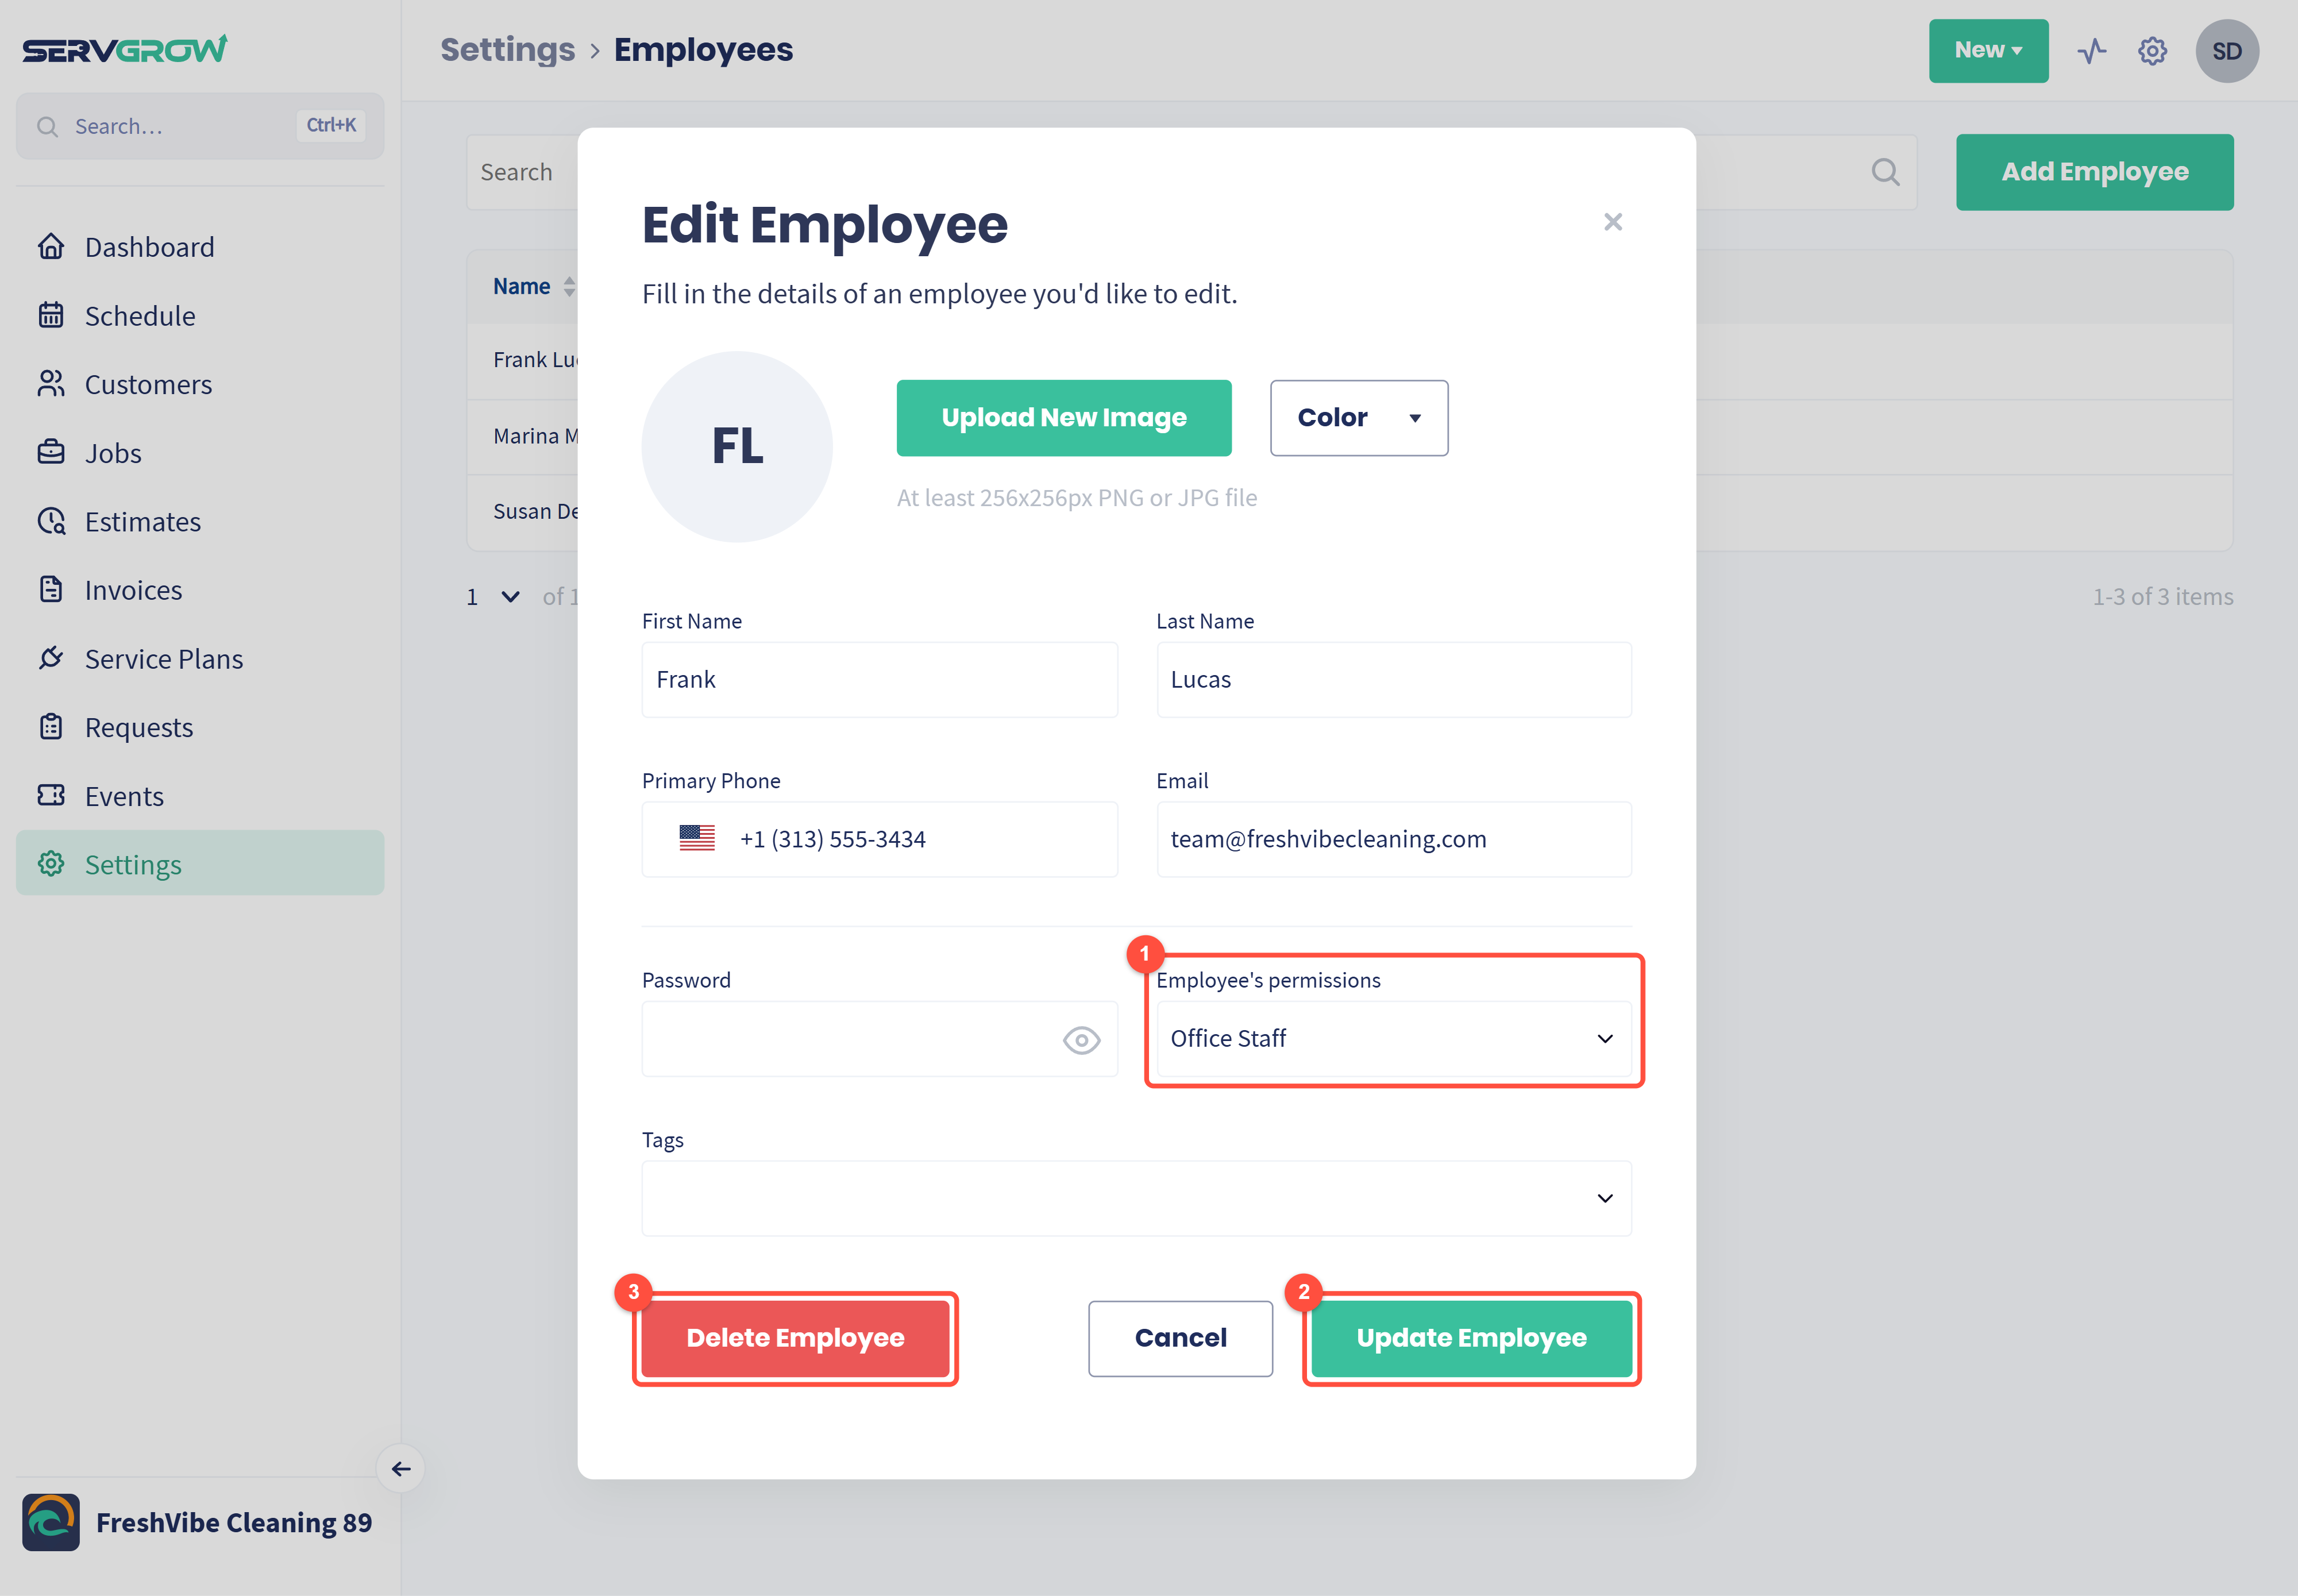
Employee's permissions: change the role when someone's job changes, such as a technician who now helps run the office.
Update Employee saves your changes. Leave Password empty to keep their current password, or type a new one to replace it.
Delete Employee removes the person. Do this on their last day so their login stops working.
A few good habits
One login per person. Never share an account, even for a day.
Review your list every few months. Check that each role still matches what the person actually does.
Remove people the day they leave. It protects your customers' information and your numbers.
Related articles