
Your company profile is what customers see on every estimate, invoice, text and booking page: your logo, your name, your phone number and your hours. Getting it right takes ten minutes and makes everything you send look like it came from an established business. It also drives things behind the scenes, such as the time zone your reminders go out in and the hours customers can book online.
Open your company profile
Click Settings, then Company Profile. You can also click your company name at the bottom of the left menu.
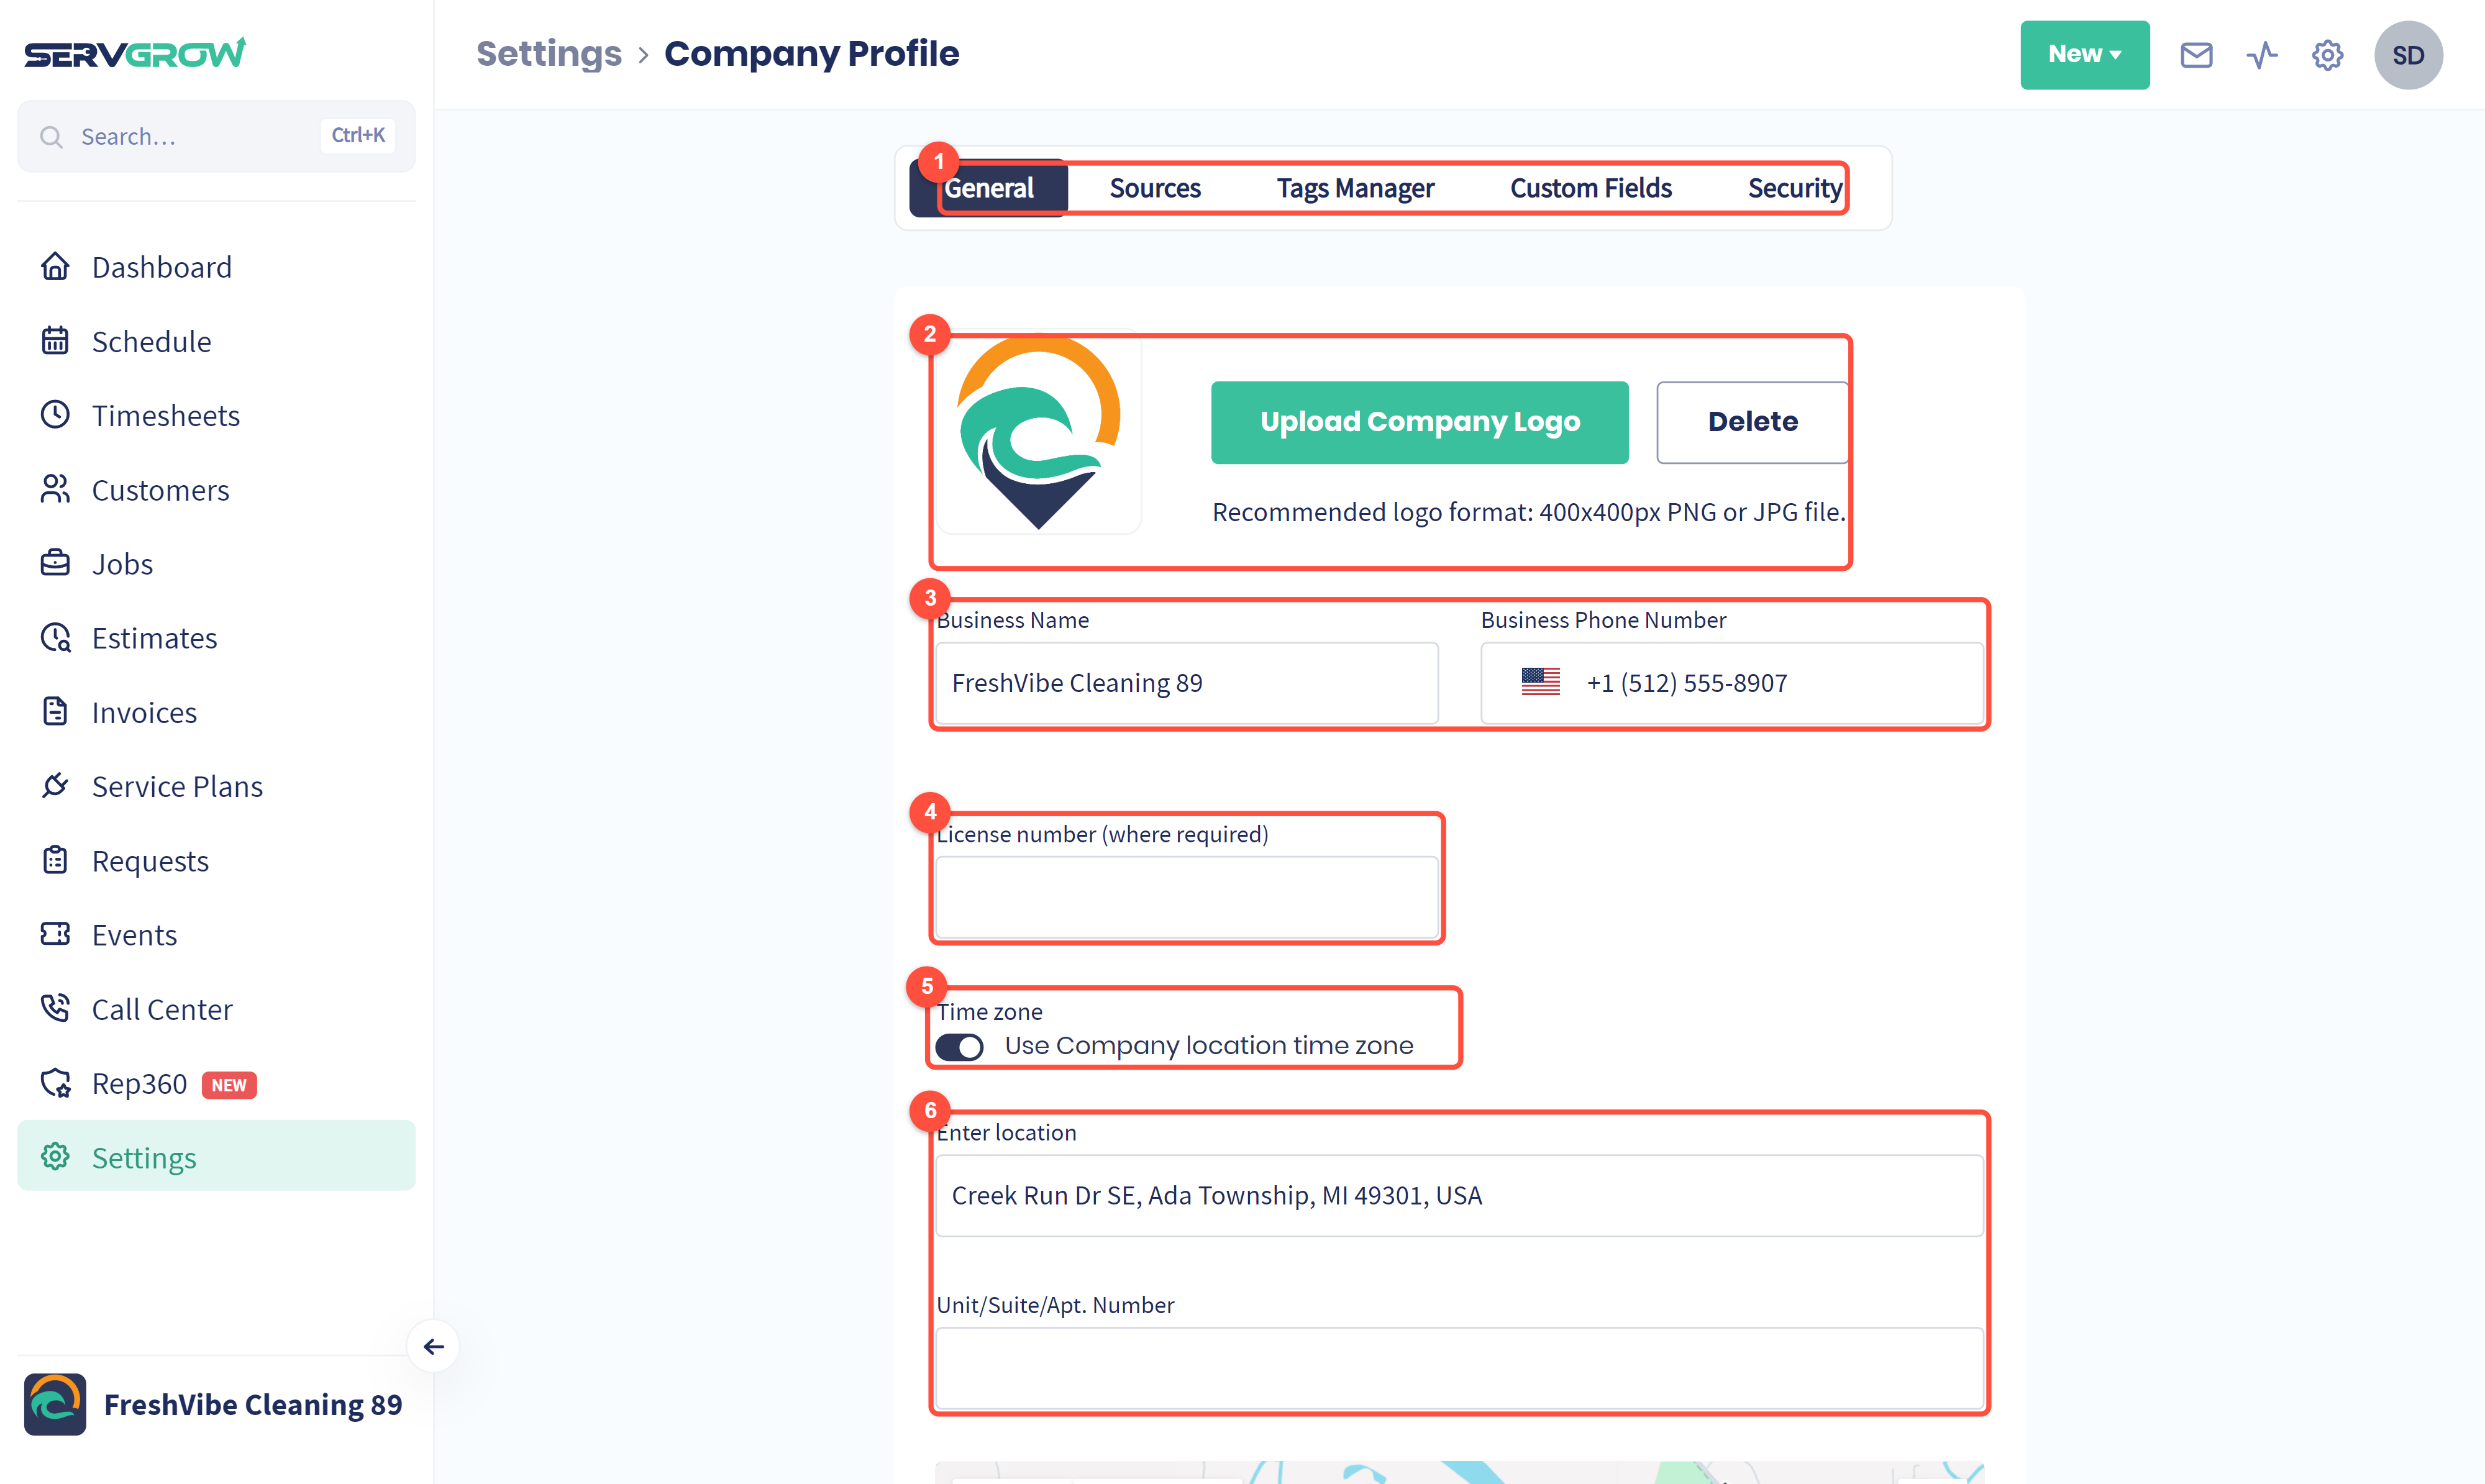
Five tabs: General, Sources, Tags Manager, Custom Fields and Security. Each is covered below.
Upload Company Logo: a square PNG or JPG, ideally 400 x 400 pixels. It appears on your estimates, invoices, emails and customer portal.
Business Name and Business Phone Number, exactly as you want customers to see them.
License number, if your trade or state requires it on paperwork.
Time zone: by default Servgrow uses the time zone of your company address.
Your business address and unit or suite number. A map below confirms the pin.
Set a different time zone
If your office is in one time zone and you work in another, set it yourself.
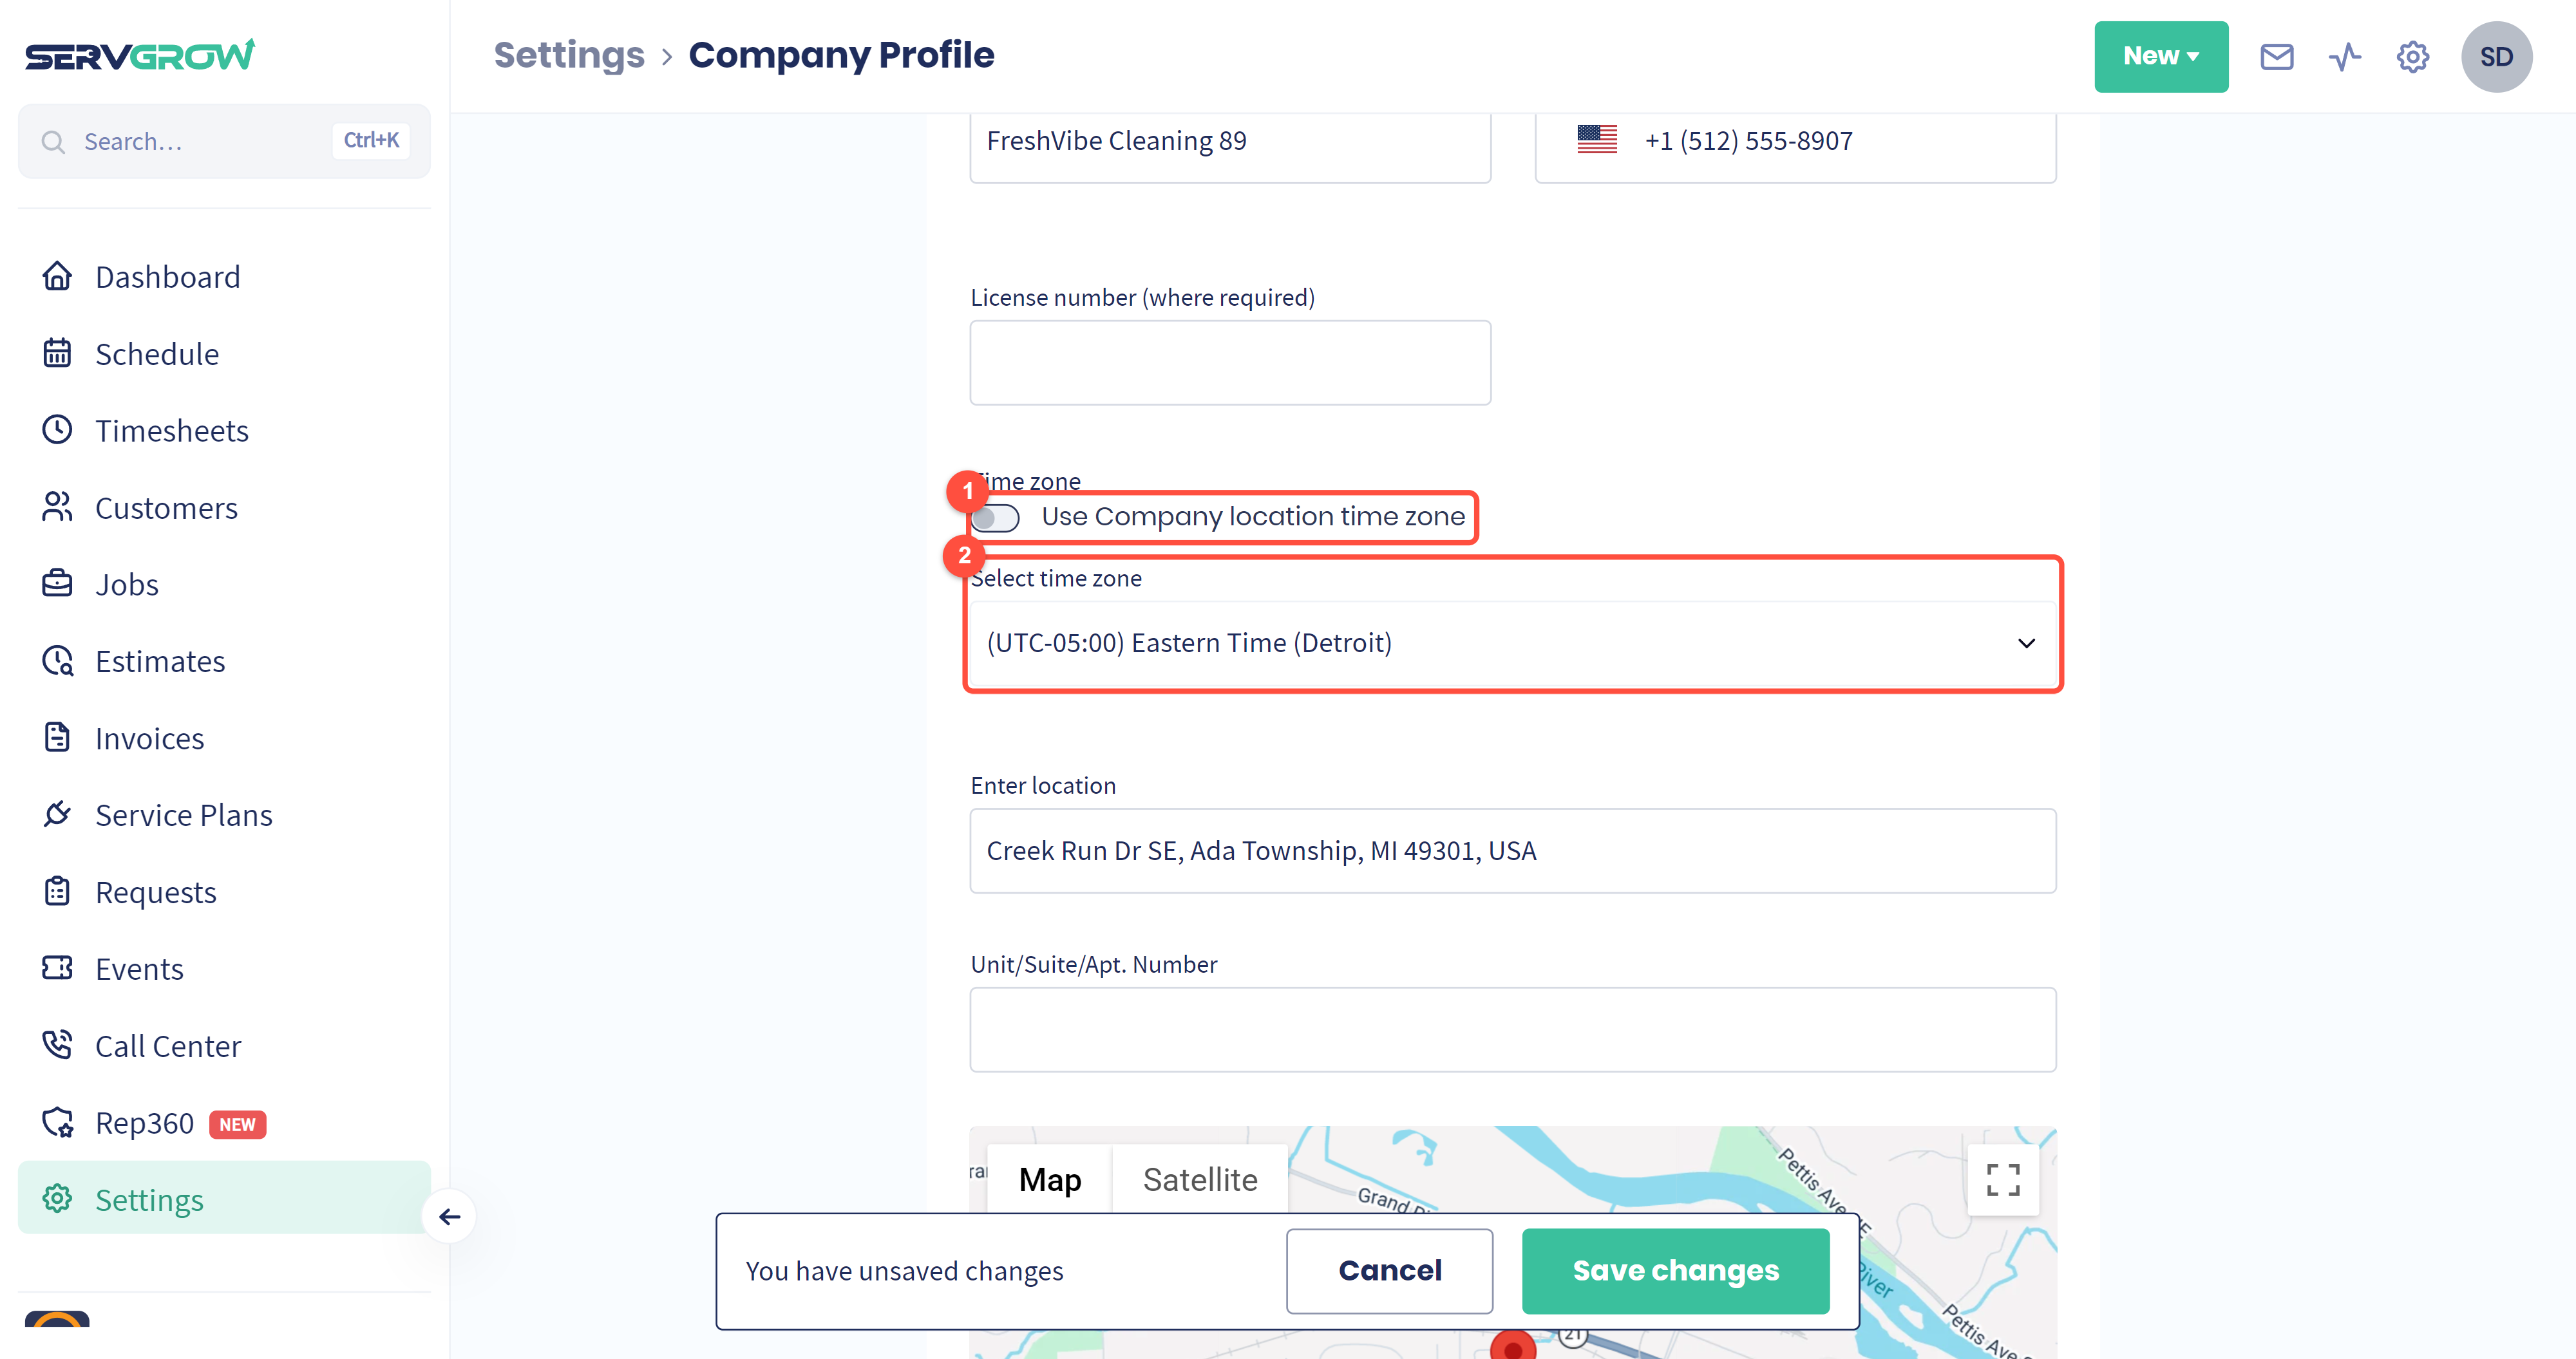
Switch off Use Company location time zone.
Select time zone: pick the one you work in. Appointment times, reminders and notifications all follow it.
Fill in the rest of your details
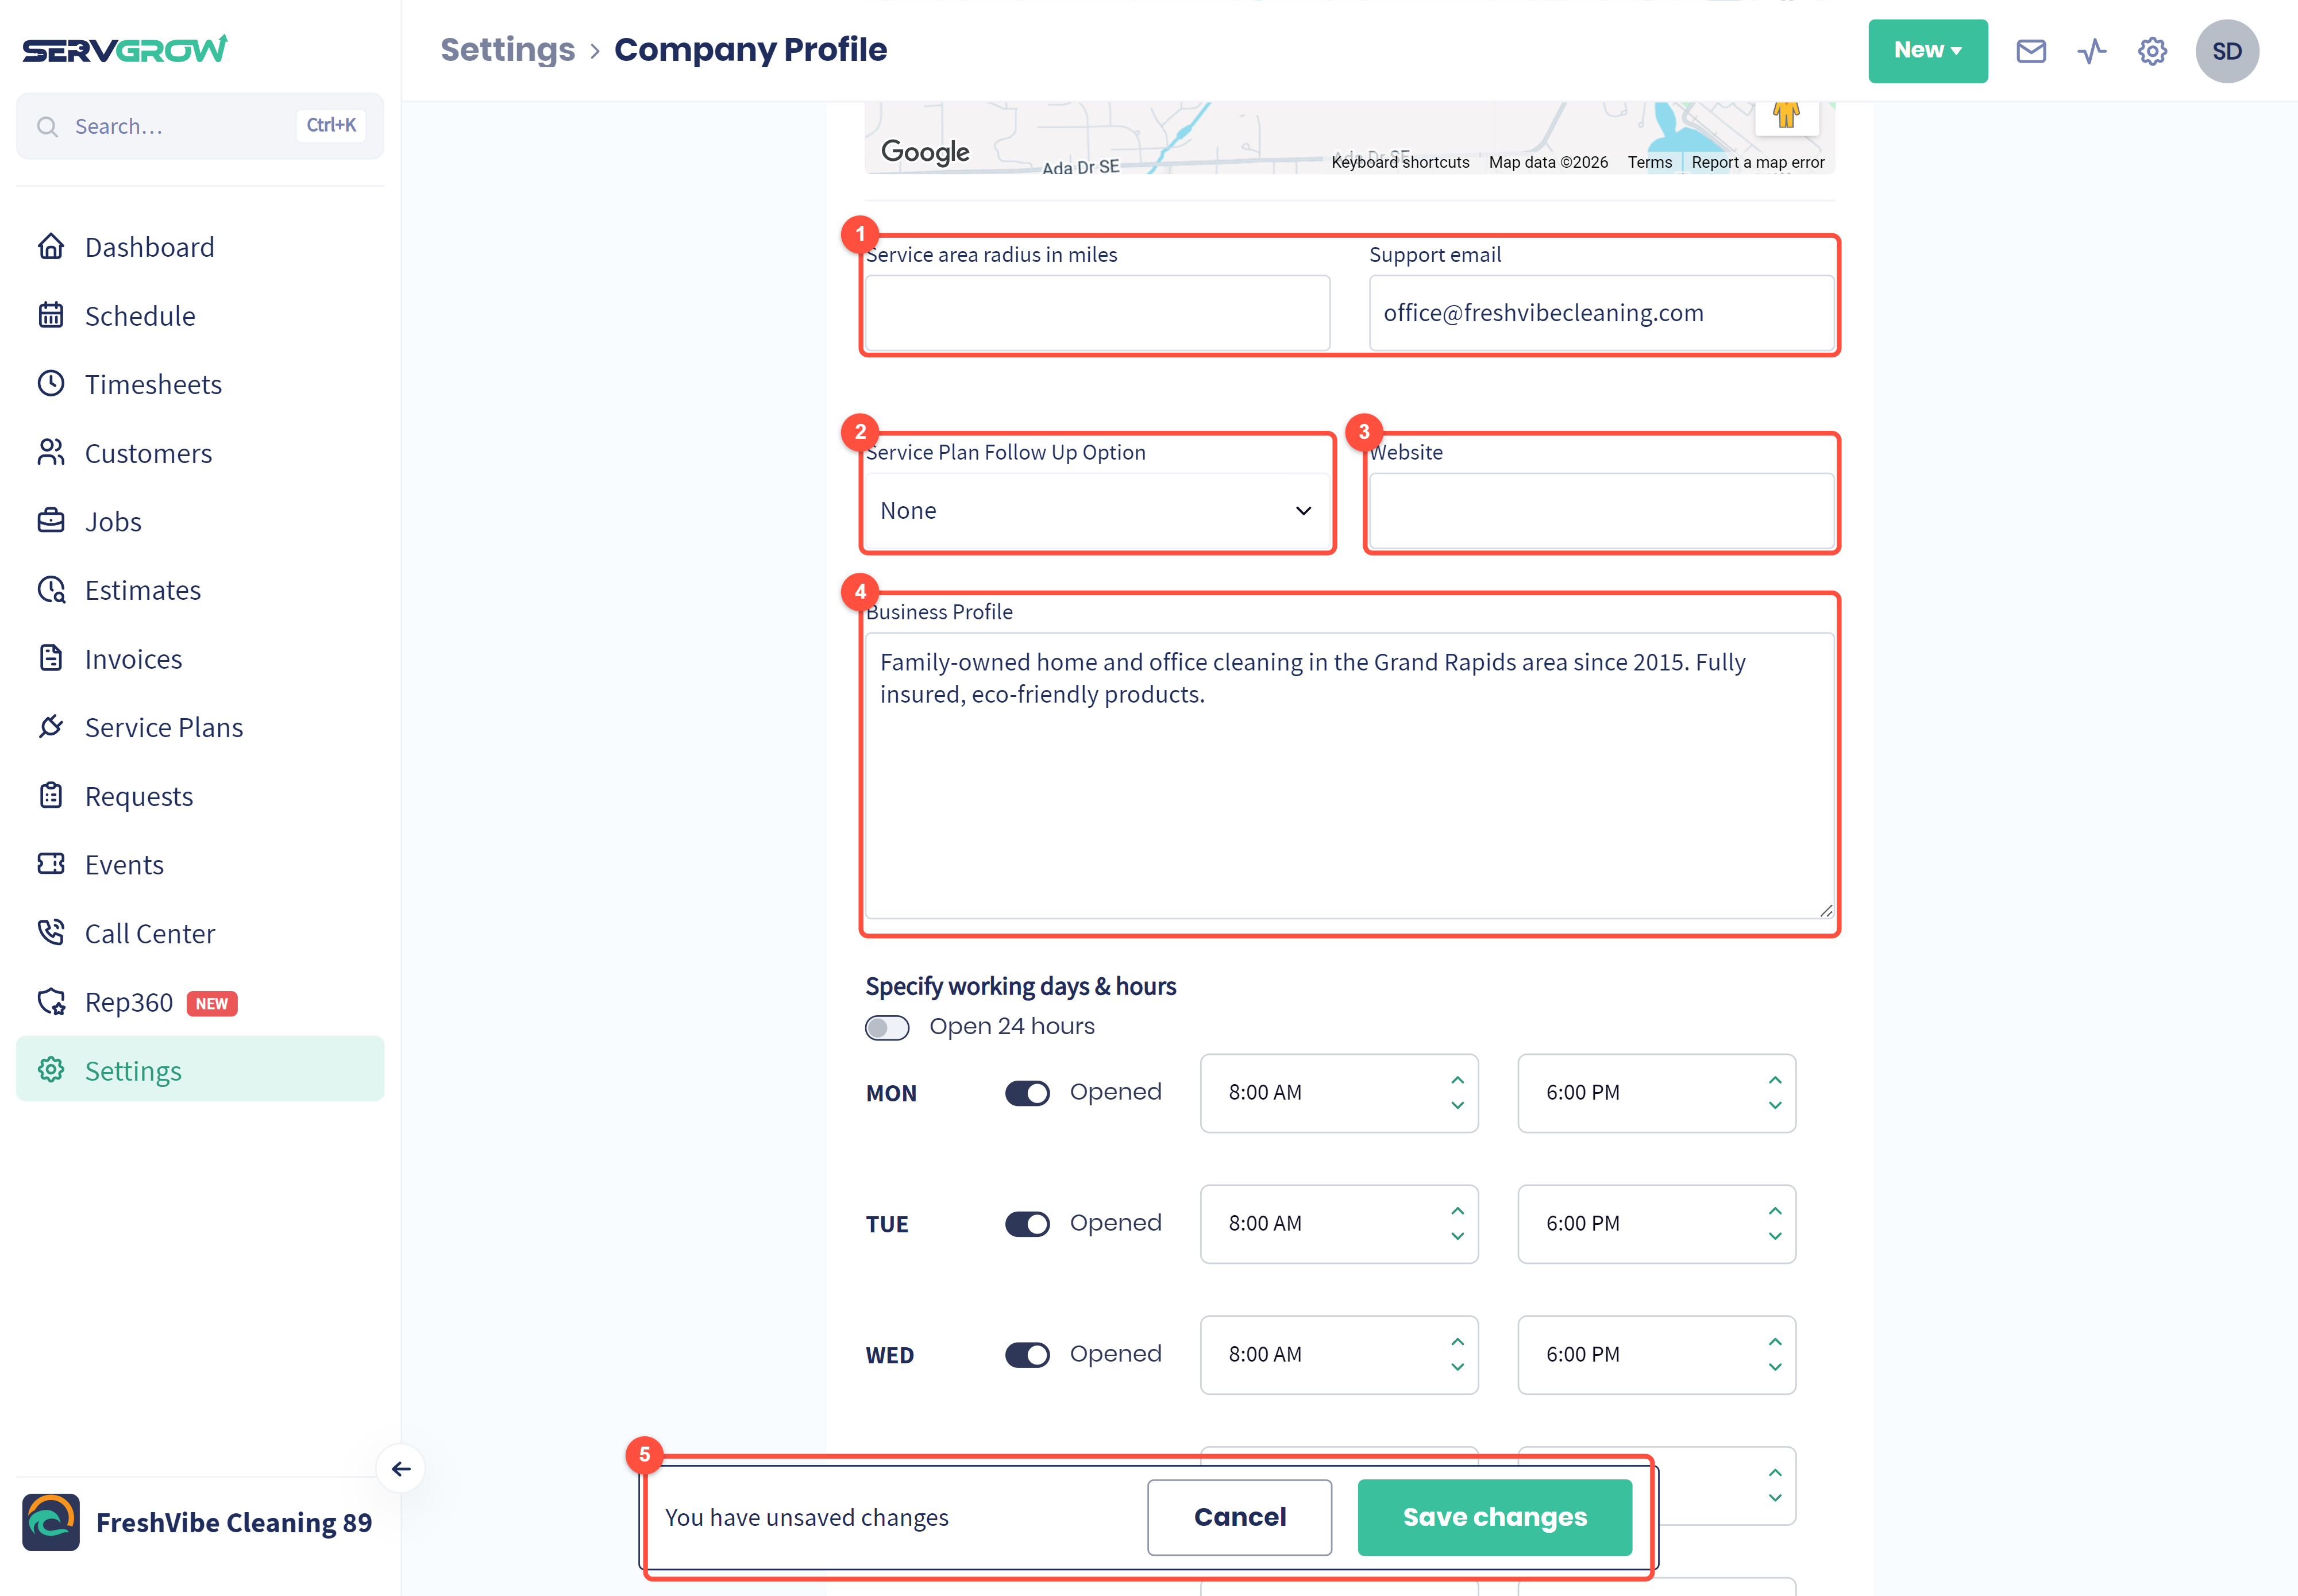
Service area radius in miles: how far from your address you travel. Support email: where customer replies and questions go.
Service Plan Follow Up Option: how often Servgrow reminds a customer about a service plan they have not accepted yet: every 24, 48 or 72 hours until they accept or cancel, or None.
Website: your web address.
Business Profile: a short description of your company: what you do, where, and why customers choose you.
As soon as you change anything, a bar appears at the bottom: You have unsaved changes. Click Save changes, or Cancel to undo.
Set your working days and hours
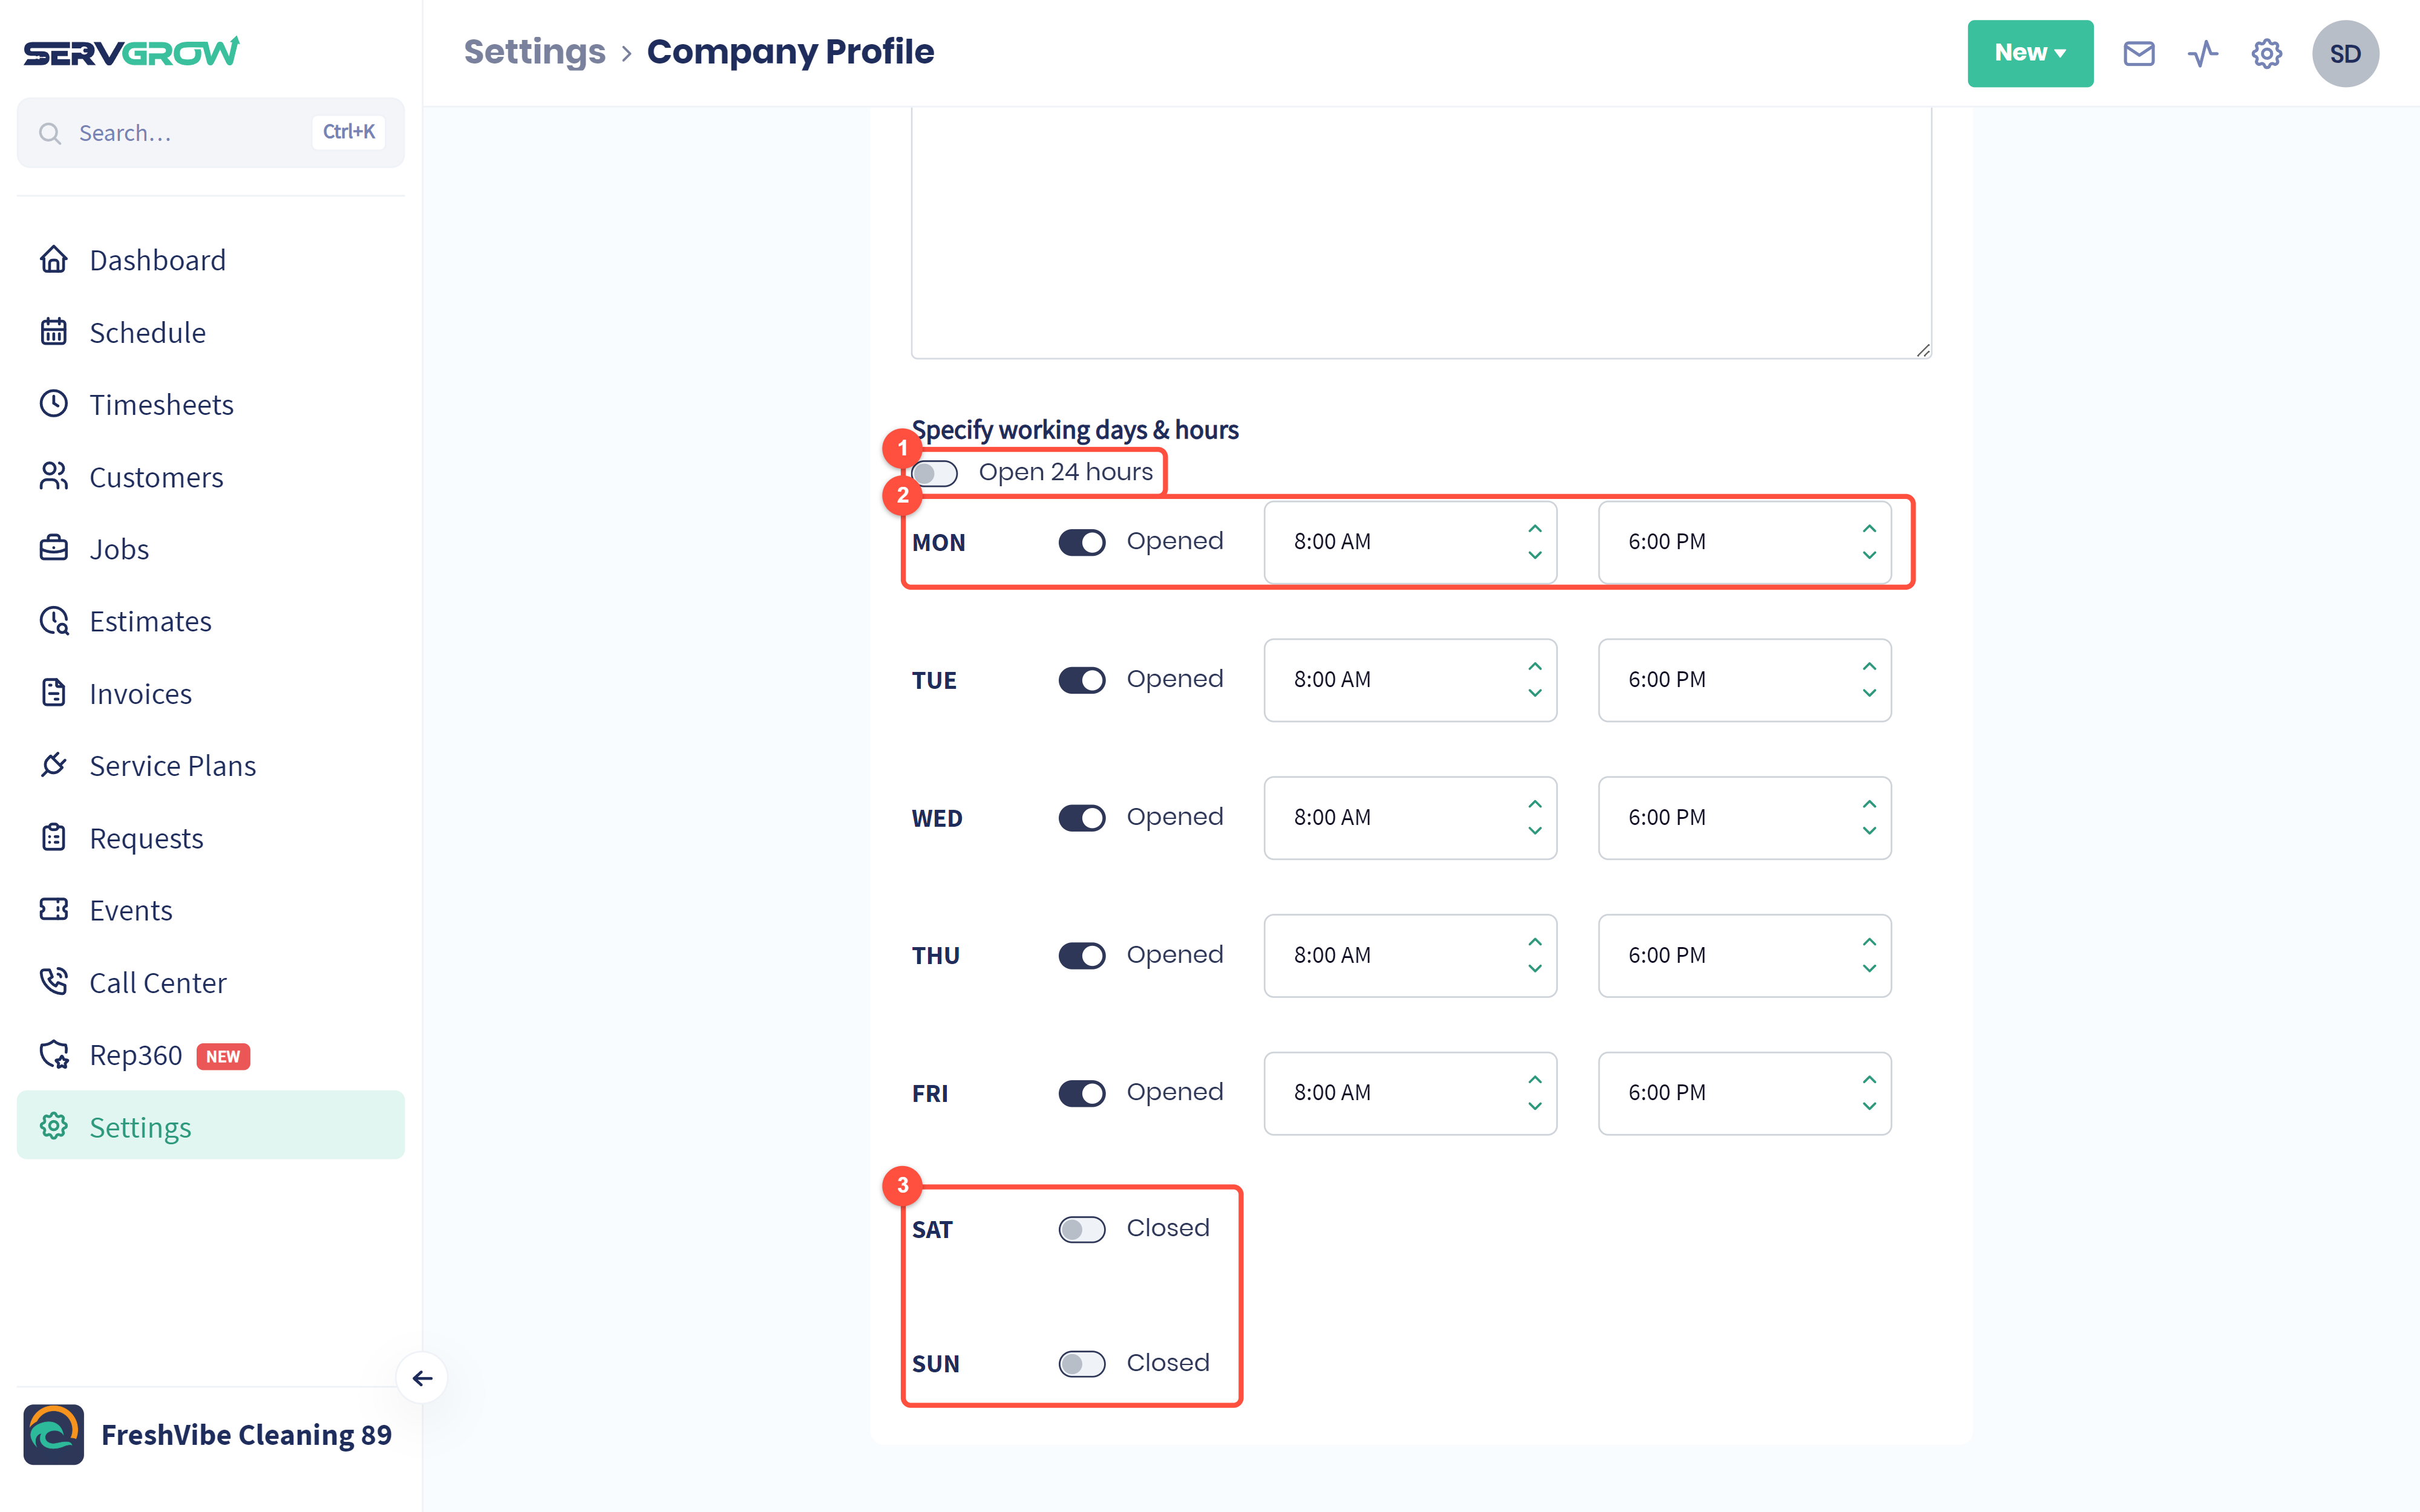
Open 24 hours: switch on if you take work around the clock.
For each day you work, leave it Opened and set the start and end time.
Switch off the days you are Closed.
Your hours shape your schedule and the times customers can pick when they book online. Click Save changes when you are done.
Sources: know where your customers come from
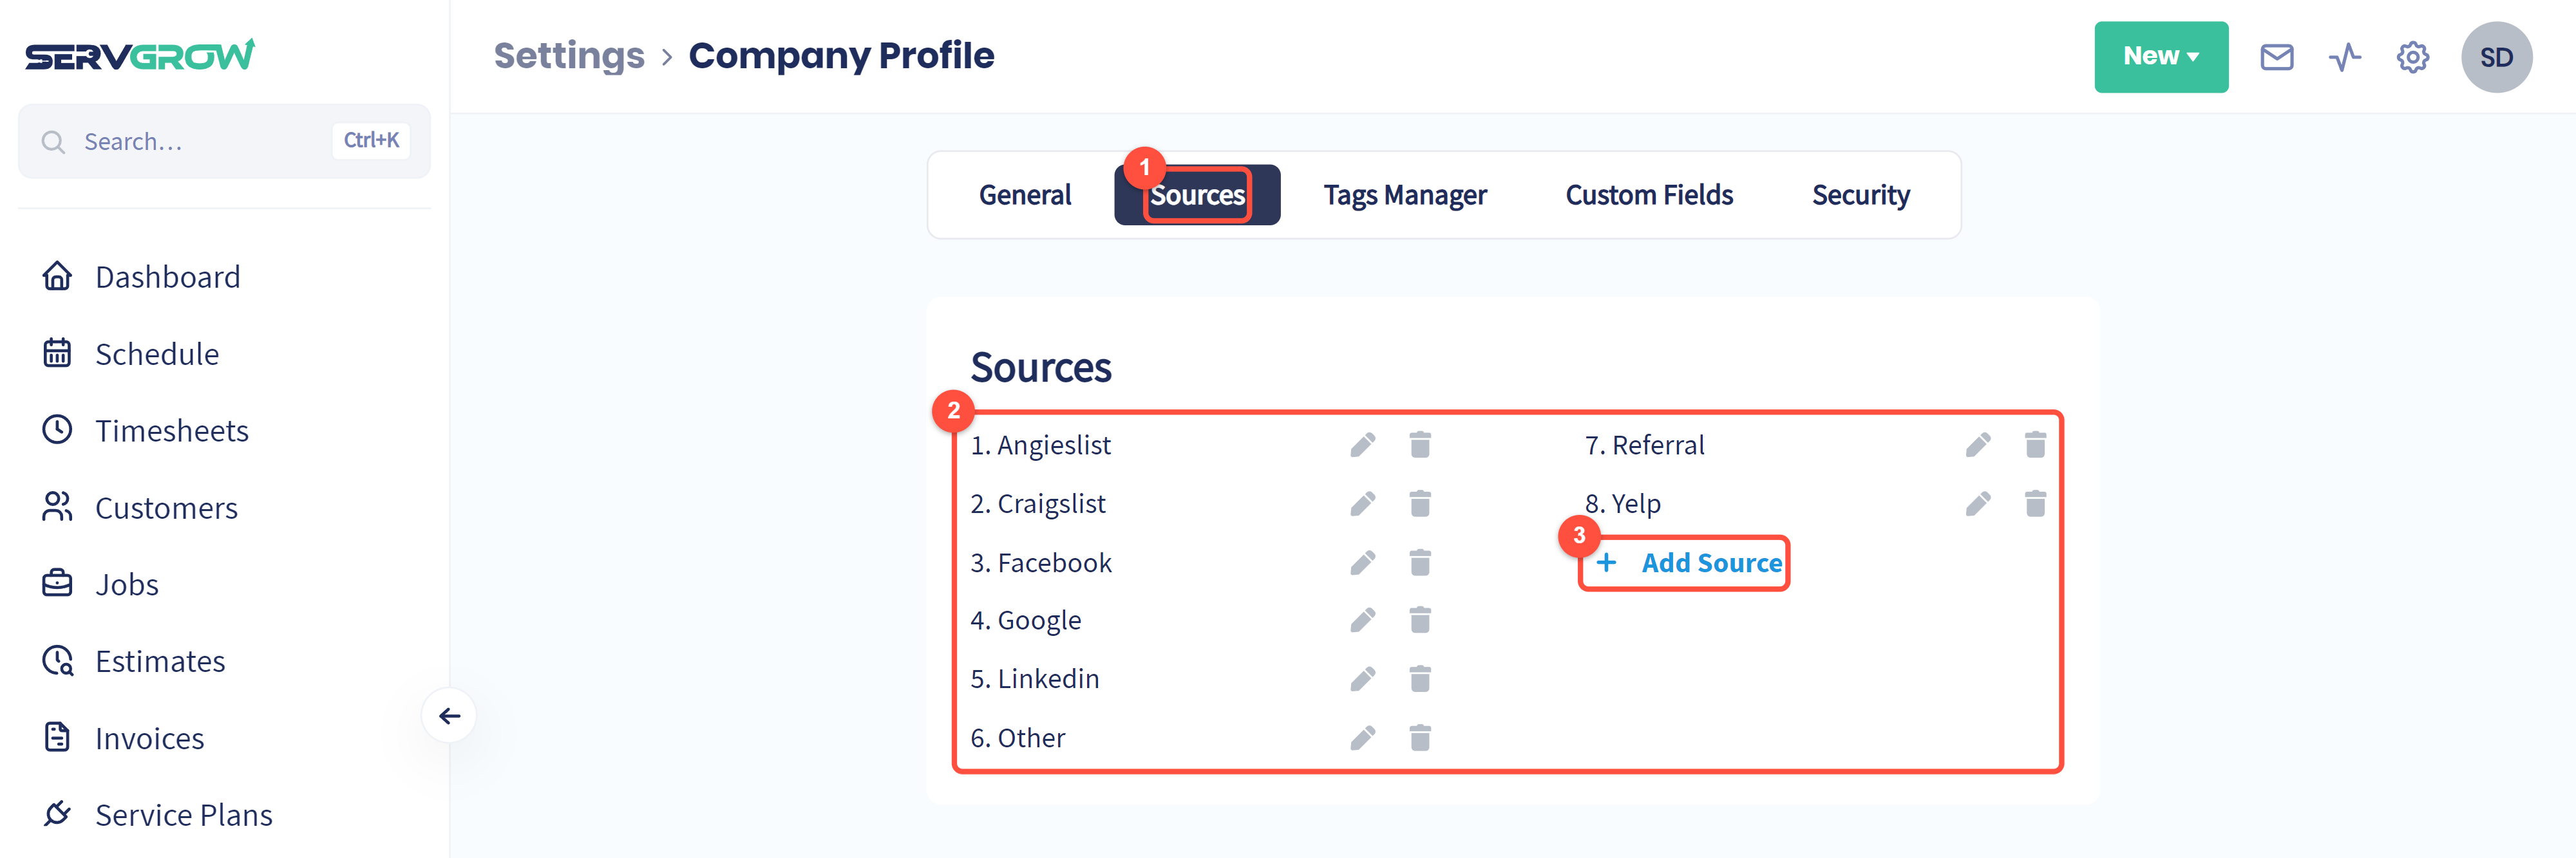
The Sources tab.
Your lead sources, such as Google, Facebook, Yelp or Referral. You pick one when you add a customer, and your booking form can ask for it too. Use the pencil to rename a source and the bin to remove it.
Add Source adds your own, for example a local magazine or a yard sign.
Tags Manager: group customers, jobs, estimates and staff

The Tags Manager tab.
Customer Tags, such as Office, Home or VIP. Click a group to open it, then use Add Tag, the pencil or the bin.
Job Tags, Estimate Tags and Employee Tags work the same way. Tags let you filter and search your lists.
Custom Fields: track what matters to your business
The Custom Fields tab lets you add your own fields: up to 20 Customer Fields (shown on every customer and in the new customer form) and up to 20 Property Fields (shown on each of a customer's properties). Click Add Customer Field or Add Property Field.
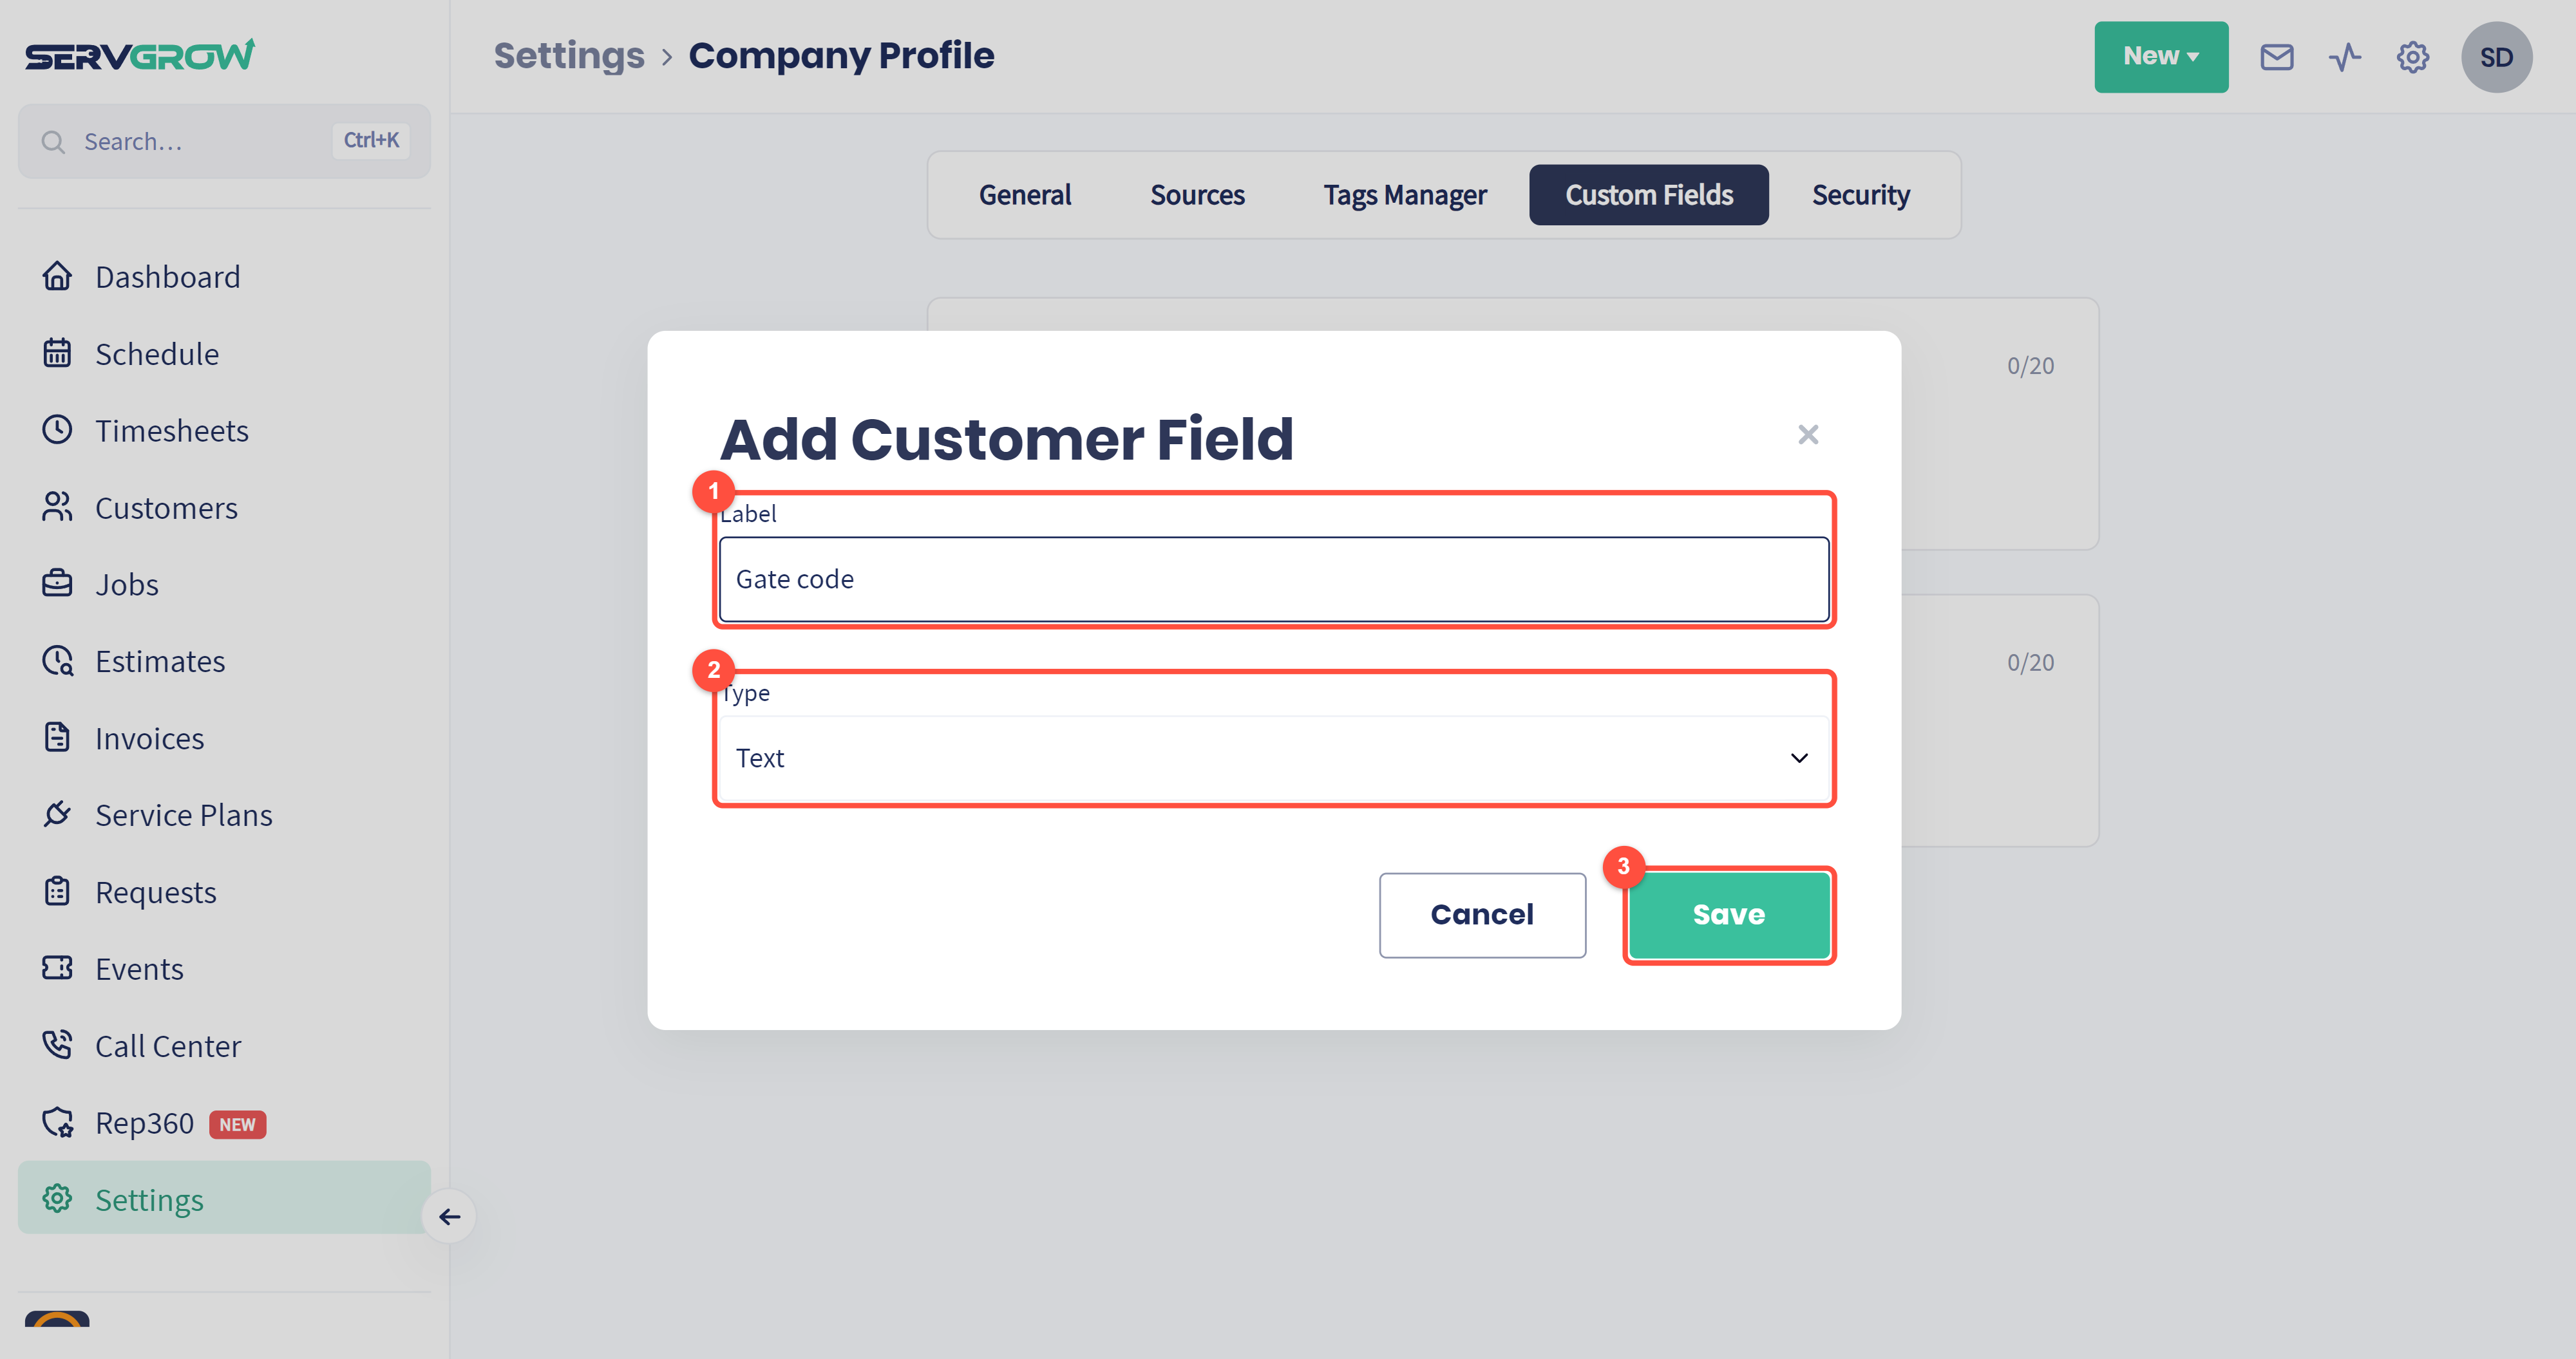
Label: what the field is called, for example Gate code or Anniversary.
Type: what kind of answer it holds, such as text.
Click Save.
Security: two-factor authentication
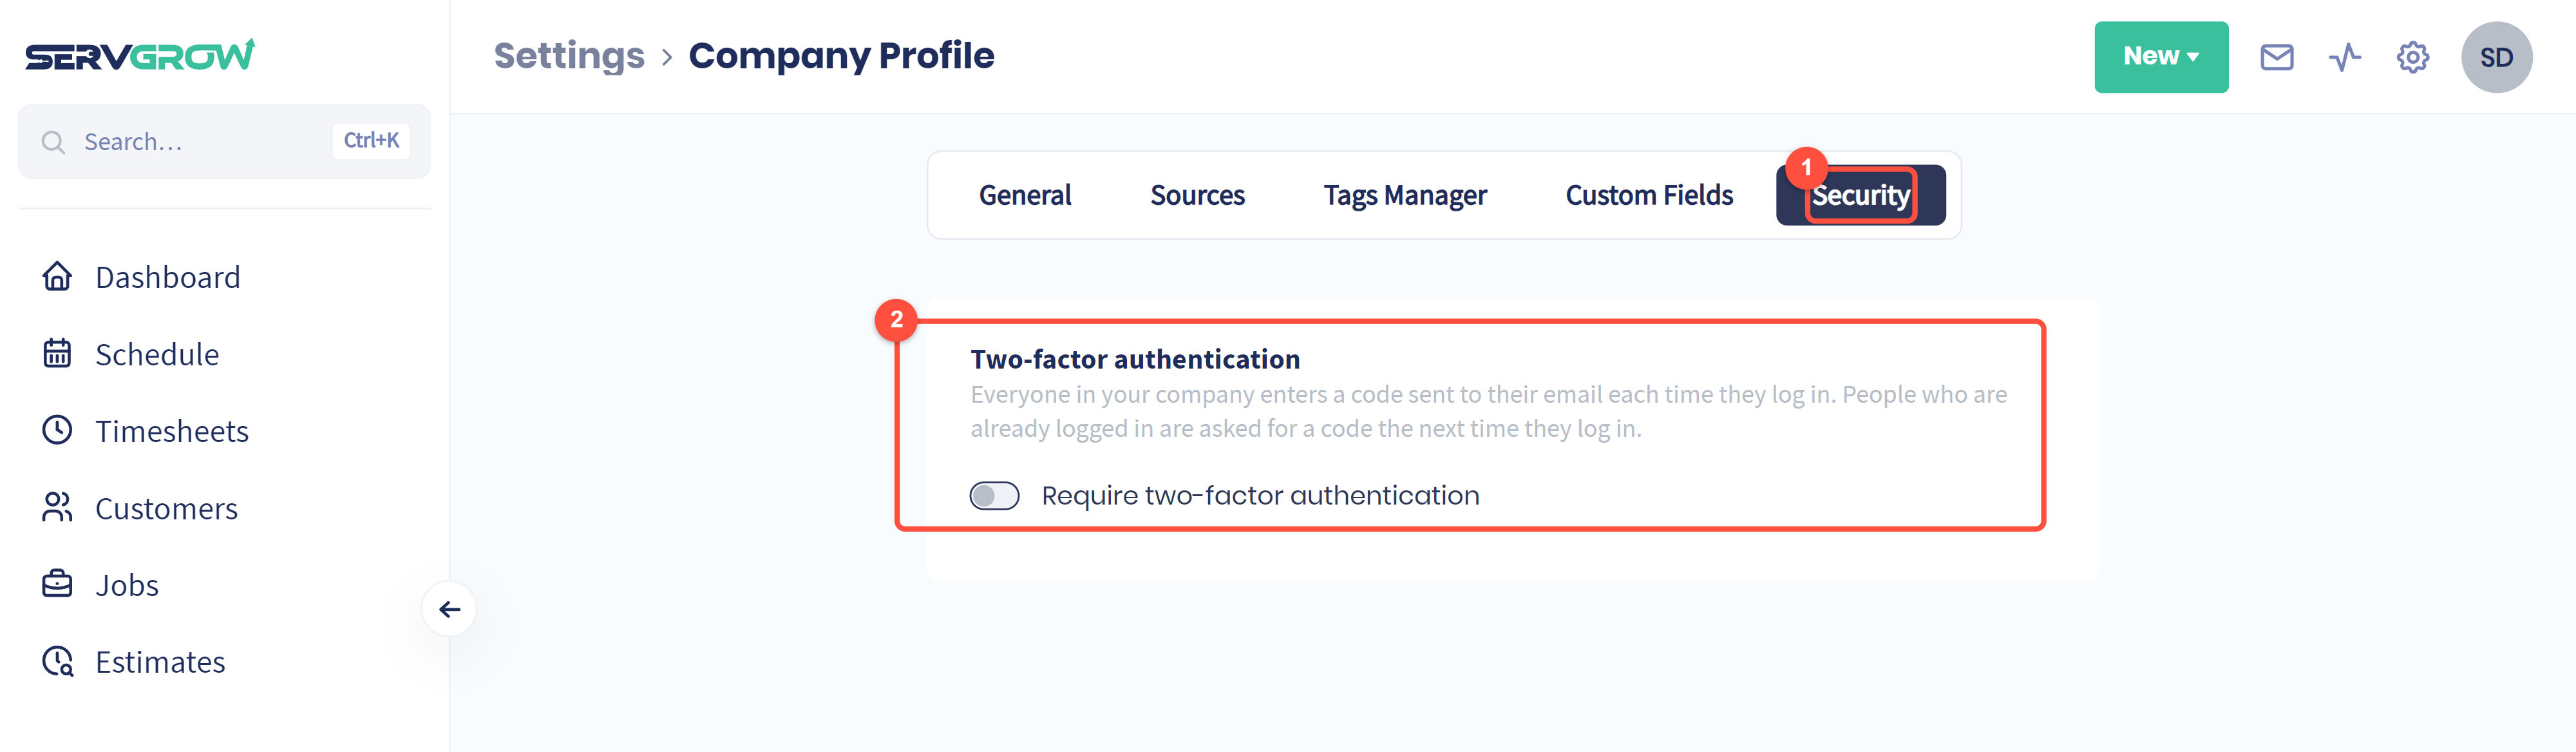
The Security tab.
Require two-factor authentication: everyone in your company then enters a code sent to their email each time they log in. People already logged in are asked for a code the next time they log in. It is the simplest way to protect your customer and payment information.
Tips
Use a clear, square logo. It is the first thing customers notice on an invoice.
Use a phone number someone answers. It appears on every text and invoice you send.
Keep your hours current, especially before holidays, so online booking only offers times you can work.
Turn on two-factor authentication once your team is set up.
Related articles